
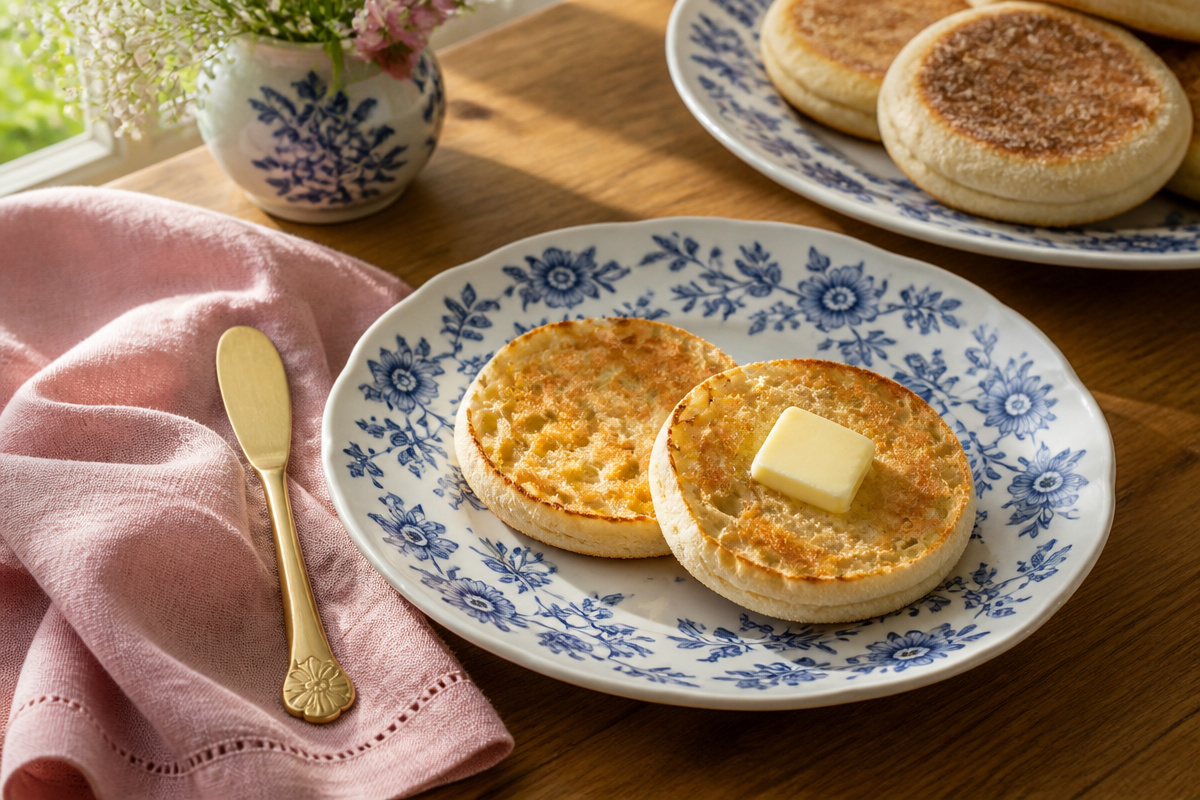
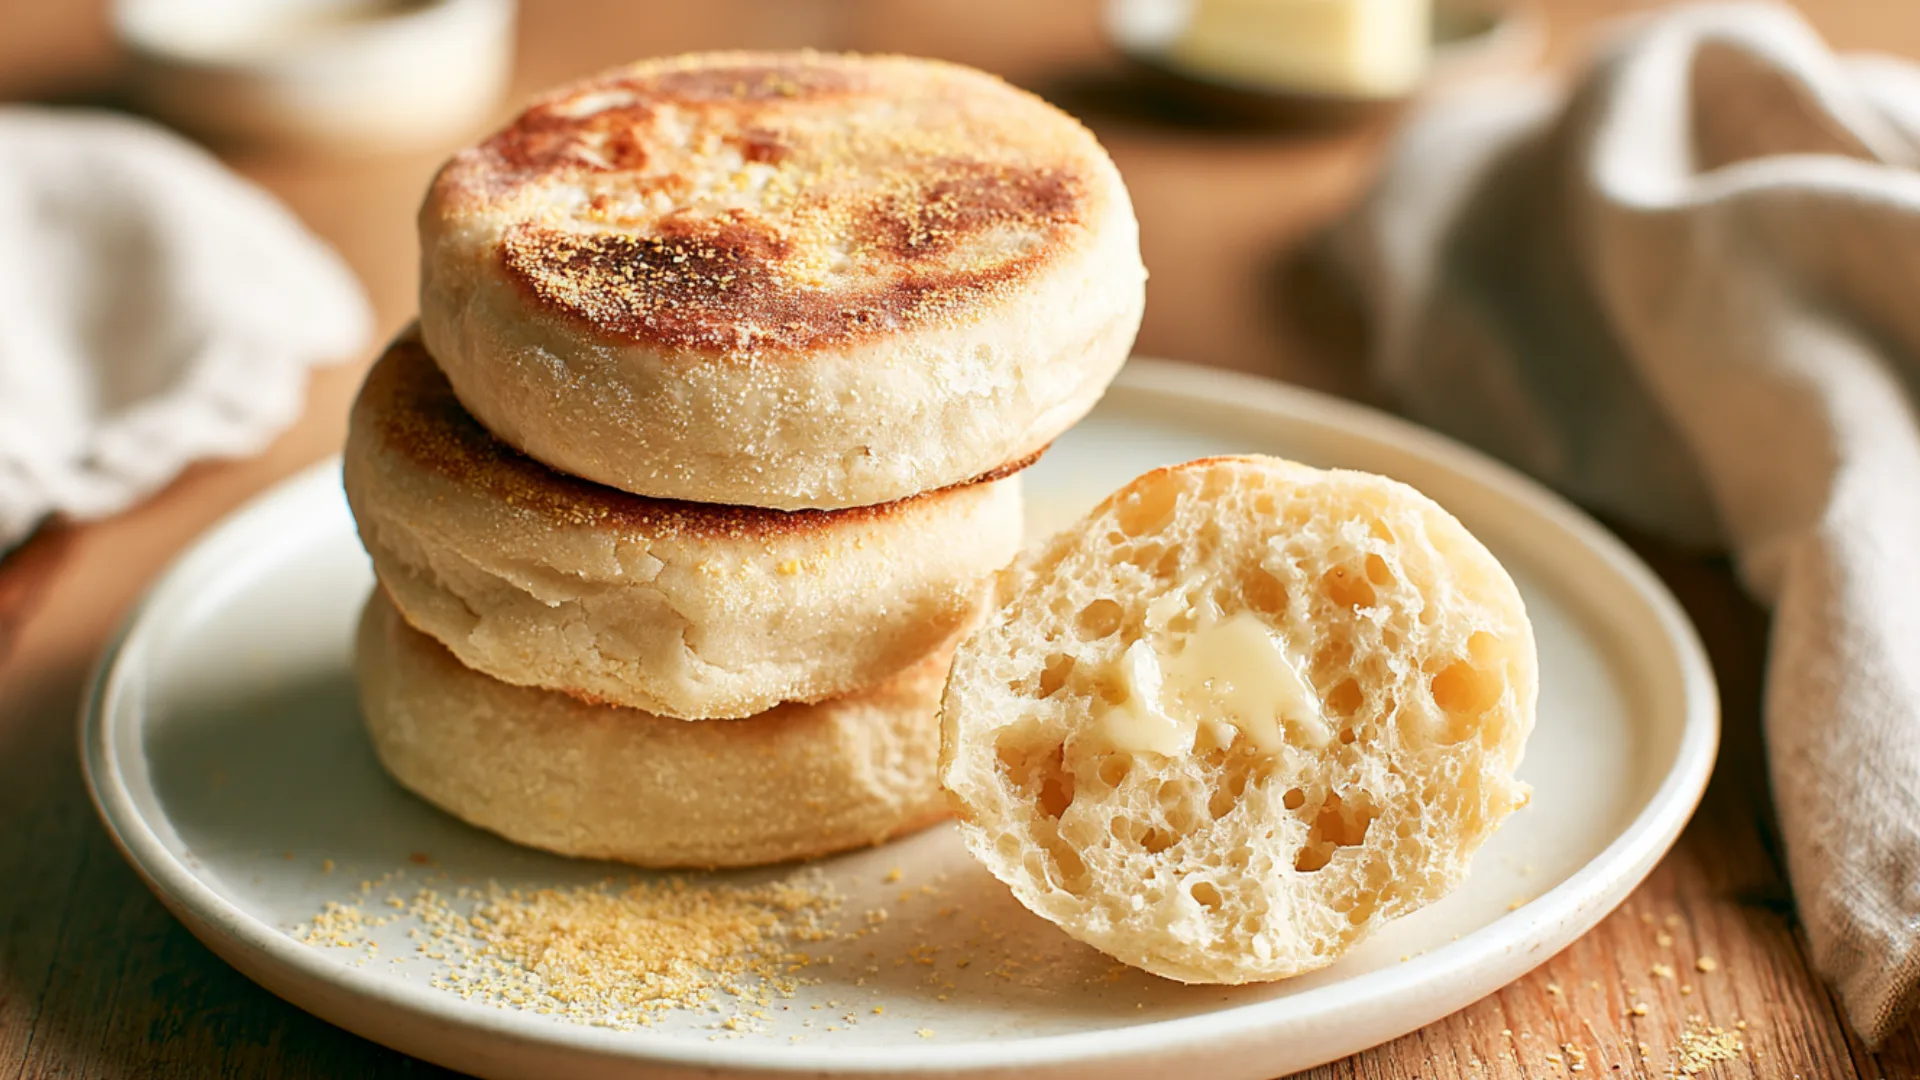
Homemade English Muffins became one of my favorite weekend baking projects after I realized how different they taste straight from the skillet. Store-bought muffins work when I’m rushing out the door, but homemade ones have something extra: crisp cornmeal-dusted edges, a tender chewy middle, and those rough little pockets that catch melted butter beautifully. The first batch I made wasn’t perfectly round, and a couple browned faster than I expected. Still, I fork-split one while it was warm, toasted it, and immediately knew I’d make them again. The good news is that Homemade English Muffins don’t require complicated shaping or special equipment. Instead, a soft yeast dough, two good rises, gentle handling, and low skillet heat do most of the work. Once you understand those basics, you can make a batch that freezes well and turns an ordinary weekday breakfast into something much more comforting.
Key Ingredients for Homemade English Muffins
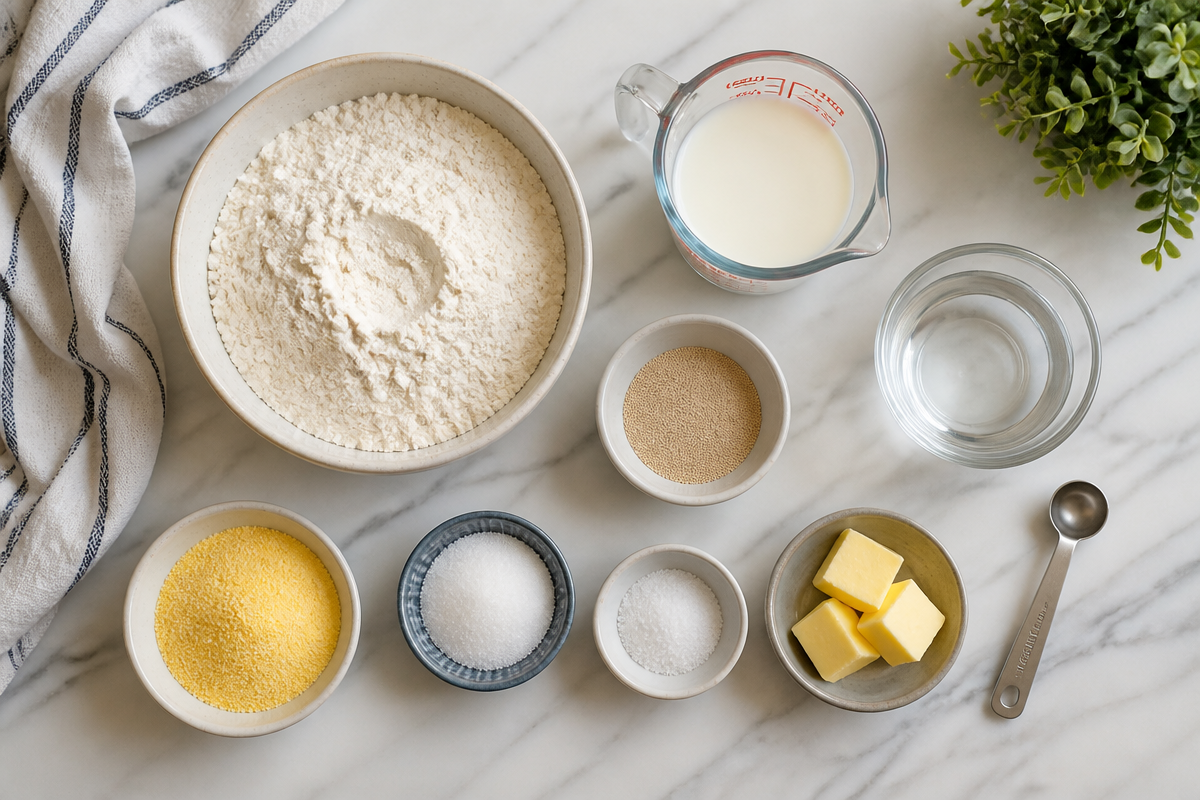
English muffins rely on basic bread ingredients. However, each ingredient contributes something important to the final texture.
What you’ll need
For a standard batch of about 10 muffins, use:
- 3 1/2 cups all-purpose flour, plus more if needed
- 1 cup warm milk
- 1/4 cup warm water
- 2 1/4 teaspoons yeast, one standard packet
- 1 tablespoon granulated sugar
- 1 teaspoon fine salt
- 2 tablespoons softened or melted butter
- 1/3 cup cornmeal or semolina for dusting
All-purpose flour produces tender muffins with enough chew for toasting. However, you can substitute bread flour when you want a slightly chewier texture.
Meanwhile, milk adds tenderness and a little richness.
The liquid should feel pleasantly warm rather than hot. Excessive heat can harm the yeast.
Sugar doesn’t turn these into sweet breakfast bread. Instead, a small amount complements the dough and helps get fermentation started.
Then there’s cornmeal.
It doesn’t go into the dough itself. Instead, it coats the exterior, reduces sticking, and gives Homemade English Muffins their familiar lightly gritty surface.
If homemade breakfast bread sounds like your kind of weekend project, cottage cheese bagels provide another homemade alternative to packaged breakfast bread. You can also try sourdough discard bread when you have starter discard waiting in the refrigerator. <table style=”width:100%; border-collapse: collapse; margin-top: 20px;”> <thead> <tr style=”background-color: #f8f8f8;”> <th style=”border: 1px solid #ccc; padding: 10px; text-align: left;”>Ingredient</th> <th style=”border: 1px solid #ccc; padding: 10px; text-align: left;”>Purpose</th> <th style=”border: 1px solid #ccc; padding: 10px; text-align: left;”>Possible Swap</th> </tr> </thead> <tbody> <tr> <td style=”border: 1px solid #ccc; padding: 10px;”>All-purpose flour</td> <td style=”border: 1px solid #ccc; padding: 10px;”>Creates a tender, chewy structure</td> <td style=”border: 1px solid #ccc; padding: 10px;”>Bread flour</td> </tr> <tr> <td style=”border: 1px solid #ccc; padding: 10px;”>Milk</td> <td style=”border: 1px solid #ccc; padding: 10px;”>Adds tenderness and richness</td> <td style=”border: 1px solid #ccc; padding: 10px;”>Unsweetened plain milk alternative</td> </tr> <tr> <td style=”border: 1px solid #ccc; padding: 10px;”>Yeast</td> <td style=”border: 1px solid #ccc; padding: 10px;”>Creates rise and air pockets</td> <td style=”border: 1px solid #ccc; padding: 10px;”>Instant or active dry yeast</td> </tr> <tr> <td style=”border: 1px solid #ccc; padding: 10px;”>Butter</td> <td style=”border: 1px solid #ccc; padding: 10px;”>Adds richness</td> <td style=”border: 1px solid #ccc; padding: 10px;”>Neutral oil</td> </tr> <tr> <td style=”border: 1px solid #ccc; padding: 10px;”>Cornmeal</td> <td style=”border: 1px solid #ccc; padding: 10px;”>Reduces sticking and adds texture</td> <td style=”border: 1px solid #ccc; padding: 10px;”>Semolina</td> </tr> </tbody> </table>
How to Make Homemade English Muffins
Most of the time involved in this recipe comes from letting the yeast work. The actual hands-on preparation stays relatively simple.
My easy step-by-step method
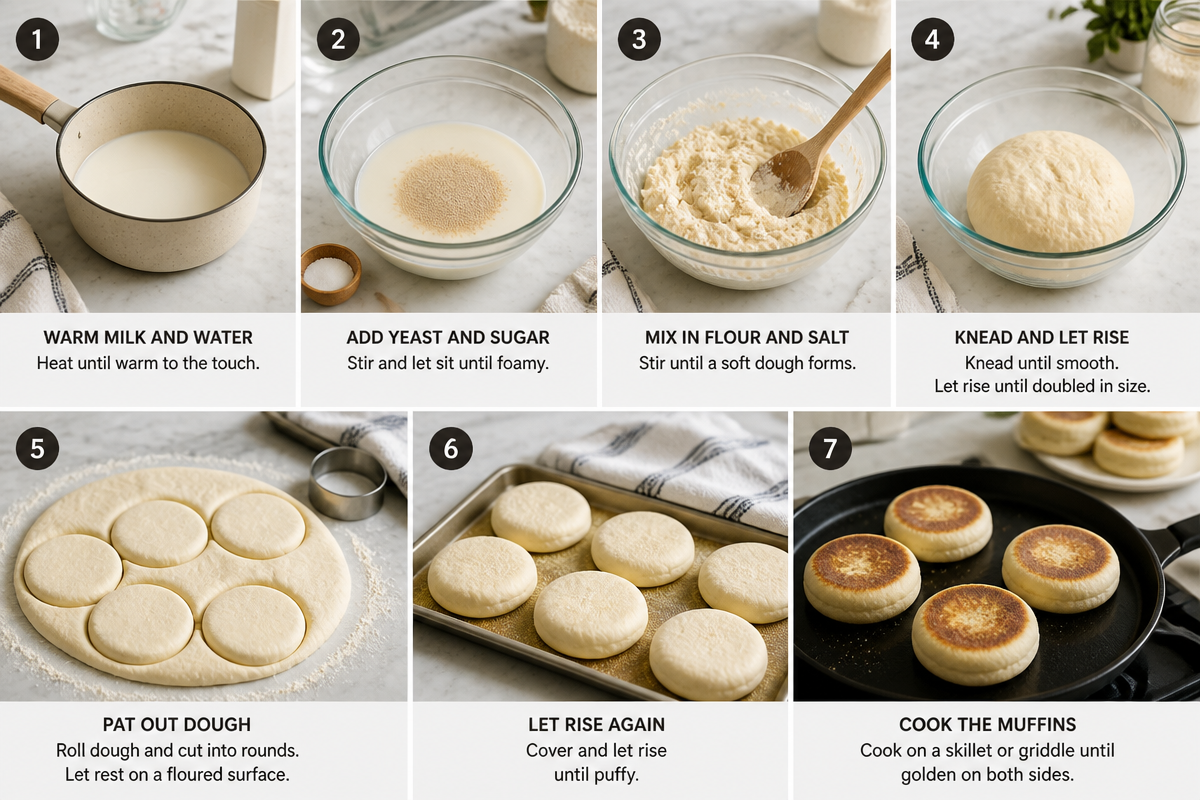
Step 1: Combine the liquids and yeast. Mix the warm milk, warm water, sugar, and yeast. If you’re using active dry yeast, let the mixture stand for about 5 to 10 minutes until it looks foamy.
Step 2: Make the dough. Add the flour, salt, and butter. Mix until everything forms a soft dough.
The dough should feel soft and slightly tacky. Therefore, resist the urge to keep adding flour until it becomes completely dry.
Step 3: Knead. Knead the dough until it feels smoother and elastic. You can work by hand on a lightly floured counter or use a stand mixer with a dough hook.
Step 4: Let it rise. Place the dough in a lightly greased bowl and cover it. Let it rise somewhere comfortably warm until noticeably puffy and roughly doubled.
Depending on your kitchen, this can take around an hour or longer.
Step 5: Shape the muffins. Gently turn the dough onto a lightly floured surface. Pat it to roughly 1/2 to 3/4 inch thick without aggressively pressing out all the trapped gas.
Cut rounds with a biscuit cutter or drinking glass.
Step 6: Give them a second rise. Sprinkle a tray with cornmeal and place the rounds on top. Dust their tops lightly with more cornmeal.
Cover loosely and let them rest until visibly puffy.
Step 7: Cook slowly. Heat a heavy skillet or griddle over low to medium-low heat.
Cook the muffins for approximately 5 to 7 minutes per side, adjusting the heat whenever they brown too quickly.
The outside should develop a deep golden color while the inside cooks through.
If the centers need more time after both sides brown, finish the muffins in a 350°F oven for 5 to 8 minutes.
Step 8: Cool and fork-split. Let the muffins cool before splitting them.
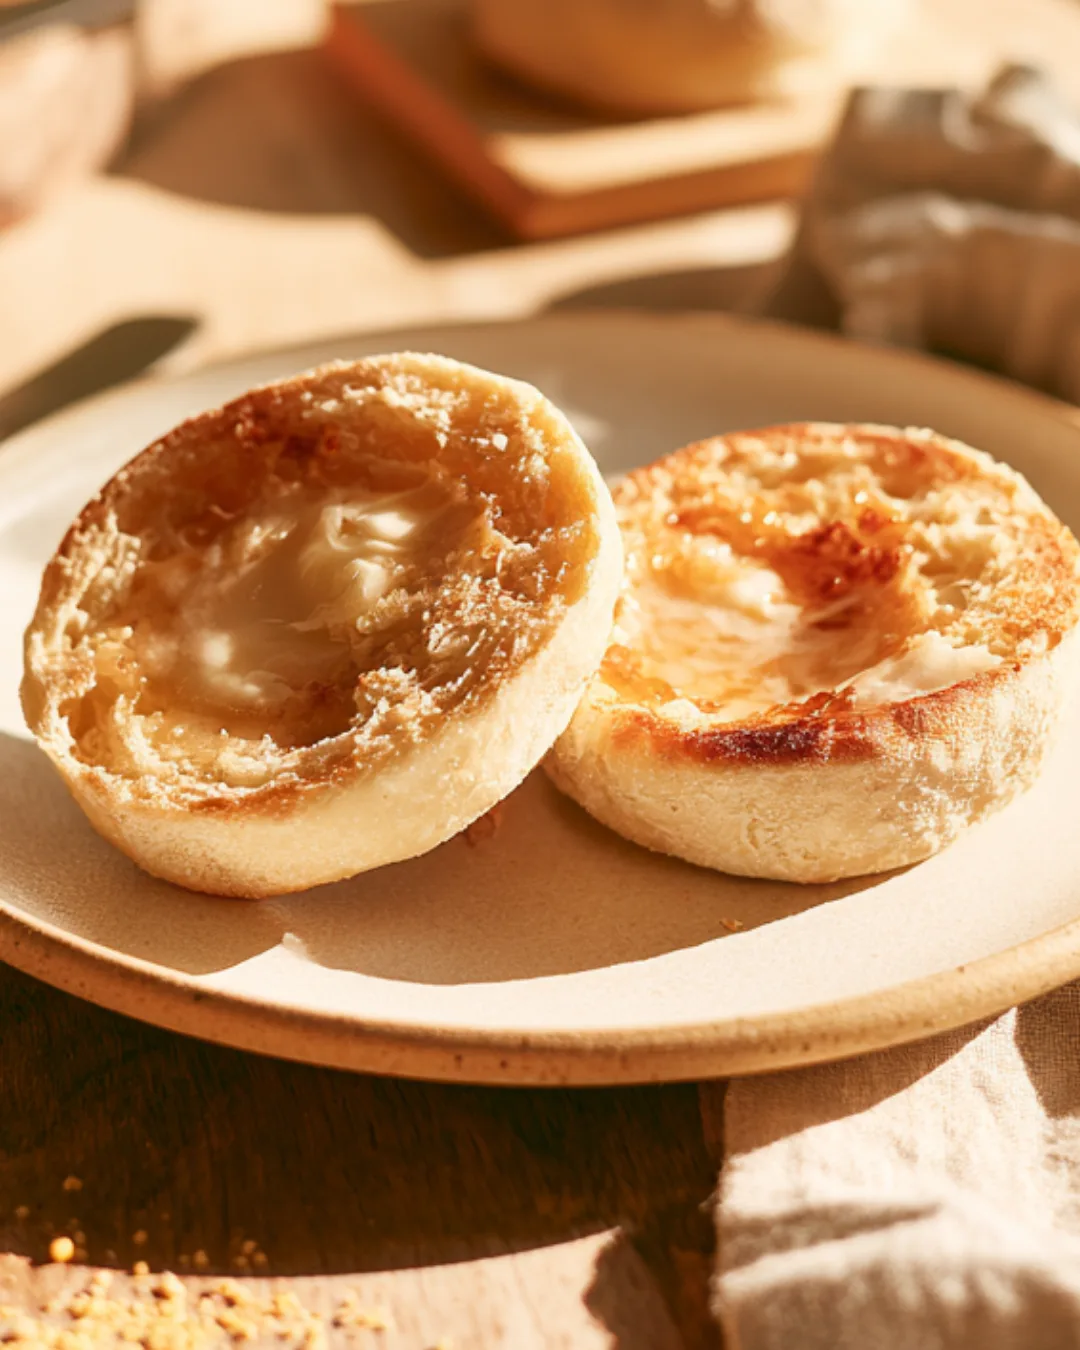
Instead of cutting horizontally with a knife, insert a fork around the circumference several times and gently pull the muffin apart.
That creates the rugged interior you want.
For another yeast-based baking project, honey butter pull-apart rolls are a natural next recipe. Meanwhile, focaccia bread offers another forgiving way to practice working with yeast dough.
What Gives English Muffins Their Nooks and Crannies?
The famous interior isn’t the result of one secret ingredient. Instead, several parts of the process work together.
Soft dough and fermentation matter
First, avoid making your dough overly stiff.
Adding too much flour can produce a tight crumb rather than an open, irregular interior.
Next, give the yeast enough time.
As the dough ferments, yeast produces gas that becomes trapped within its structure. Those bubbles contribute to the pockets inside the finished muffin.
The second rise matters too.
After cutting the rounds, you’ve disturbed some of the dough’s internal structure. Resting gives the rounds time to become airy again before cooking.
Then handle them carefully.
Don’t flatten beautifully risen rounds just before putting them onto the griddle.
Why you should fork-split English muffins
Fork splitting doesn’t actually create the internal bubbles. However, it exposes their irregular structure much better than a clean knife cut.
Insert a fork into the side, move a little farther around the muffin, and repeat.
Once you’ve worked around the circumference, gently pull the halves apart.
You’ll expose a rough surface filled with peaks, valleys, and little pockets.
Toast those rough surfaces and the highest points become crisp while butter melts down into the lower areas.
That’s the English muffin experience I’m after.
If you love breads specifically for their toasted texture, cranberry orange bread gives breakfast a fruitier direction. For a more indulgent morning, cinnamon roll French toast makes those crisp, soft contrasts the center of breakfast.
Pro Tips for Better Homemade English Muffins
The ingredients are straightforward, so technique matters more than adding anything fancy.
Heat control is everything
A skillet that’s too hot creates one of the most common problems: dark exteriors with undercooked centers.
English muffins are relatively thick.
Therefore, they need enough time for heat to travel into their centers before the surfaces become overly brown.
Start with low or medium-low heat.
If they barely color, increase it slightly. However, if they become dark within a couple of minutes, turn it down.
A heavy skillet can help maintain steady heat.
Don’t smash the dough flat
Treat the risen dough gently when you shape it.
You don’t need to preserve every gas bubble, but you also don’t want to aggressively knead or flatten the dough immediately before cutting.
Likewise, cut straight down with your cutter.
Avoid twisting excessively because twisting can pinch and compress the edges.
After the second rise, transfer the muffins to your skillet gently.
Cornmeal isn’t just for looks
Cornmeal helps keep the soft dough from sticking to the tray and cooking surface.
It also creates that familiar English muffin exterior.
You don’t need a thick coating, though.
A light, even dusting works.
Semolina makes a useful substitute when cornmeal isn’t available.
Check the centers when you’re unsure
Color alone can’t tell you whether the centers have cooked.
If your muffins look beautifully browned but still seem doughy, don’t keep scorching them in the skillet.
Move them to a 350°F oven for several minutes instead.
If you regularly bake bread at home, an instant-read thermometer can also remove some guesswork. A fully cooked yeast bread typically registers around 190–200°F internally.
How to Store Homemade English Muffins
One reason I like making a full batch is that English muffins freeze extremely well.
Room temperature and refrigerator storage
First, let the muffins cool completely.
Warm bread releases steam. Therefore, sealing warm muffins can trap condensation inside the container.
Once cool, store them in an airtight container or tightly sealed bag at room temperature for about 2 days.
You can refrigerate them for longer storage, although refrigeration can make bread stale faster.
To bring back a better texture, toast refrigerated muffins before eating.
How to freeze English muffins
Freezing is my preferred option.
First, let the muffins cool completely.
Then fork-split them before freezing. That way, you can take one straight from the freezer and put the halves into the toaster without trying to split frozen bread.
Place parchment between layers if needed, then transfer the muffins to a freezer-safe container or bag.
For best quality, use them within roughly 2 to 3 months.
You can toast the halves from frozen or let them thaw briefly first.
Ways to Serve Homemade English Muffins
A hot English muffin with butter is difficult to improve, but these little breads can handle much more than breakfast butter.
Sweet and savory topping ideas
For a sweet breakfast, try:
- Butter and jam
- Peanut butter and banana
- Honey and ricotta
- Cream cheese and berries
- Cinnamon butter
- Apple butter
For savory mornings, add:
- Scrambled eggs and cheese
- Fried egg and avocado
- Bacon, egg, and cheddar
- Smoked salmon and cream cheese
- Cottage cheese and tomato
You can also use Homemade English Muffins as small sandwich buns.
For example, eggs, cheddar, and sausage turn them into freezer-friendly breakfast sandwiches.
If you want a complete breakfast spread, air fryer breakfast potatoes provide a crisp savory side. You could also serve the muffins alongside cottage cheese eggs for a protein-rich breakfast.
Common Questions
Q: Why did my English muffins turn out flat?
A: Usually it is because the dough did not rise long enough, or the rounds were pressed too thin. Give the dough more time and keep the cut rounds a bit thicker.
Q: Can I make the dough the night before?
A: Yes. Let it start rising, then cover and refrigerate. In the morning, bring it closer to room temp, then shape, rest, and cook.
Q: How do I know they are cooked through?
A: They should feel lighter when you lift them, and the sides should look set, not doughy. If you are unsure, finish them in the oven for a few minutes.
Q: Do I need ring molds?
A: Nope. A biscuit cutter or drinking glass works. They might be slightly uneven, but they will still toast up great.
Q: What is the best way to get more nooks and crannies?
A: Soft dough, a good second rise, cook low and slow, and fork split them after cooling. That combo is the sweet spot.
A cozy final push to try these this week
The first time you make Homemade English Muffins, don’t worry about creating ten perfectly identical circles.
Focus instead on the things that affect texture.
Keep the dough soft. Give the yeast enough time to create a puffy first rise. Handle the rounds gently, and don’t rush their second rise. Most importantly, cook them over controlled heat so the centers have time to set before the surfaces become too dark.
Then let them cool and grab a fork.
That first split reveals why making them at home feels so satisfying: an irregular, craggy interior ready to catch melted butter, jam, honey, or a runny egg yolk.
Your second batch will probably look more uniform than your first. But even slightly crooked English muffins can toast beautifully, and that’s part of what makes homemade bread worth making.
For additional approaches, your draft also references English muffin recipes from Preppy Kitchen, Bigger Bolder Baking, and Two Kooks in the Kitchen.
Keep the heat low, let the dough rise until it is puffy, and remember the fork split trick for that perfect inside texture. If you want even more guidance and slightly different approaches, check out English Muffins – Preppy Kitchen, Homemade English Muffins Recipe (No Knead) | Bigger Bolder Baking, and English Muffin Recipe (Homemade & Easy) for extra tips and variations. Now go make a batch, toast one while it is still a little warm, and tell me you do not feel instantly happier.

Homemade English Muffins
Ingredients
Method
- Warm the milk and water until it feels like warm bath water, not hot.
- Mix in yeast and sugar, letting it sit for a few minutes if using active dry yeast until foamy.
- Stir in flour, salt, and butter. Mix until you have a soft dough.
- Cover the bowl and let the dough rise until puffy, about 1 hour.
- Gently pat the dough out and cut into rounds with a biscuit cutter or glass.
- Let the rounds rest until a little lifted and airy, which is crucial.
- Cook the rounds on a skillet over medium-low heat, about 5 to 7 minutes per side.
- If browning too quickly, lower the heat and give more time; finish in a 350°F oven if necessary.
- Split cooked muffins with a fork for optimal texture.