
There are mornings when even making toast feels like too much effort. Those are the days I’m especially grateful for these Easy Frozen Waffle Sweet Breakfast Sandwiches. I started making them during one particularly hectic school season when everyone in my house needed breakfast at a different time. I wanted something warm, comforting, and filling that didn’t require standing over the stove every morning.
Frozen waffles turned out to be the perfect shortcut. They toast quickly, hold up well in the freezer, and pair beautifully with simple ingredients like peanut butter, bananas, berries, or cream cheese. After a little experimenting, I discovered that making a batch ahead of time meant breakfast was ready in minutes without sacrificing flavor.
Whether you’re meal prepping for busy weekdays, packing a quick breakfast for work, or simply looking for a sweet morning treat, these waffle breakfast sandwiches are a simple solution you’ll want to keep in your freezer.
- Why You’ll Love These Frozen Waffle Breakfast Sandwiches
- What Makes This Frozen Waffle Work
- Ingredients of Frozen Waffle
- Equipment You’ll Need of Frozen Waffle
- My Favorite Sweet Waffle Combination
- Flavor Ideas
- Tips Before You Begin
- Quick Frozen Waffle Summary
- How to Make Frozen Waffle Sweet Breakfast Sandwiches
- Best Flavor Combinations of Frozen Waffle
- Assemble Multiple Sandwiches
- How Long Do They Last?
- Best Ways to Reheat Frozen Waffle
- Meal Prep Freezer Breakfast Sandwiches
- Create an Assembly Line
- Expert Tips for Freezing Breakfast Sandwiches
- Common Mistakes to Avoid
- Common Questions About Frozen Waffle
- A sweet little breakfast habit worth keeping
Why You’ll Love These Frozen Waffle Breakfast Sandwiches
These sweet waffle sandwiches are more than just convenient. They’re satisfying, customizable, and perfect for busy mornings.
Here’s why you’ll love them:
- Ready in minutes
- Perfect for freezer meal prep
- Kid-friendly and adult-approved
- Easy to customize with your favorite fillings
- Budget-friendly using frozen waffles
- Great for breakfast or snacks
- Freezer-friendly for up to two months
- Made with simple grocery store ingredients
Unlike many grab-and-go breakfasts, these sandwiches let you control the ingredients and sweetness while still delivering plenty of flavor.
What Makes This Frozen Waffle Work
The secret is surprisingly simple.
Frozen waffles become wonderfully crisp after toasting, creating the perfect base for creamy fillings. When frozen correctly, they hold their texture much better than many homemade breakfast sandwiches.
Using nut butter also creates a moisture barrier between the waffles and fresh fruit, helping prevent sogginess after freezing.
Adding honey or maple syrup after reheating keeps the flavors fresh instead of allowing the sweetener to crystallize in the freezer.
Small details like these make a noticeable difference in the final sandwich.
Ingredients of Frozen Waffle
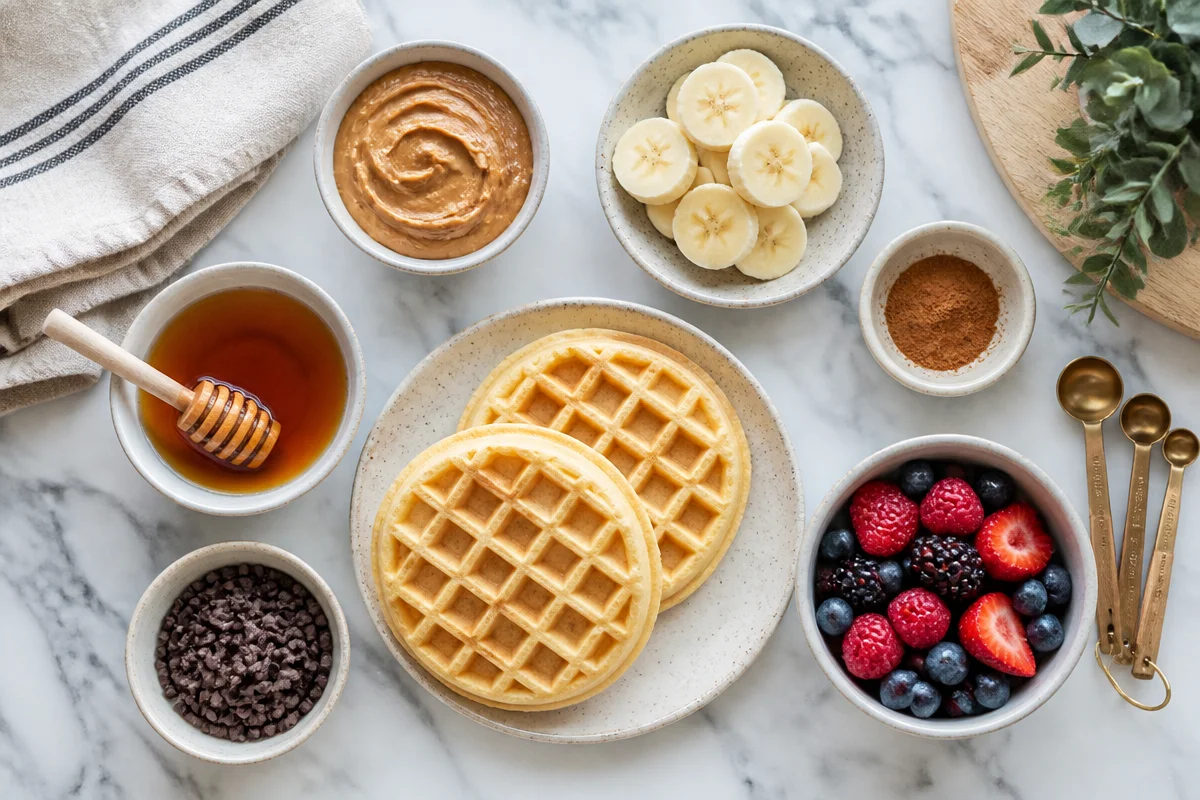
Everything you need is probably already in your kitchen.
Main Ingredients
- 8 frozen waffles
- ½ cup peanut butter, almond butter, or sunflower butter
- 2 ripe bananas, sliced
- 1 teaspoon ground cinnamon
- Honey or maple syrup for serving (optional)
Optional Add-Ins
Choose your favorites.
- Fresh strawberries
- Blueberries
- Mini chocolate chips
- Cream cheese
- Apple slices
- Granola
- Chopped pecans
- Chopped walnuts
- Coconut flakes
These ingredients allow you to create several different flavor combinations without changing the basic recipe.
Ingredient Notes
Frozen Waffles
Classic waffles work beautifully, but don’t stop there.
Try:
- Whole grain waffles
- Blueberry waffles
- Chocolate chip waffles
- Protein waffles
- Gluten-free waffles
Each creates a slightly different flavor while following the same preparation method.
Nut Butter
Peanut butter adds classic flavor and protein.
Almond butter offers a slightly milder taste.
Sunflower seed butter works well for nut-free households.
Bananas
Choose bananas that are ripe but still firm.
Overripe bananas become too soft after freezing.
Thin slices also reheat more evenly.
Cinnamon
A small sprinkle of cinnamon adds warmth without overpowering the fruit.
Feel free to substitute pumpkin pie spice during the fall months.
Equipment You’ll Need of Frozen Waffle
No special equipment is required.
You’ll simply need:
- Toaster or toaster oven
- Butter knife
- Cutting board
- Small spoon
- Baking sheet (optional)
- Parchment paper
- Aluminum foil or plastic wrap
- Freezer-safe storage bags
- Permanent marker for labeling
Having everything ready before assembling makes meal prep much faster.
My Favorite Sweet Waffle Combination
After trying countless combinations, this one remains my favorite.
Ingredients of Frozen Waffle
- 2 toasted frozen waffles
- 2 tablespoons peanut butter
- ½ banana, sliced
- Light sprinkle of cinnamon
- Small drizzle of honey after reheating
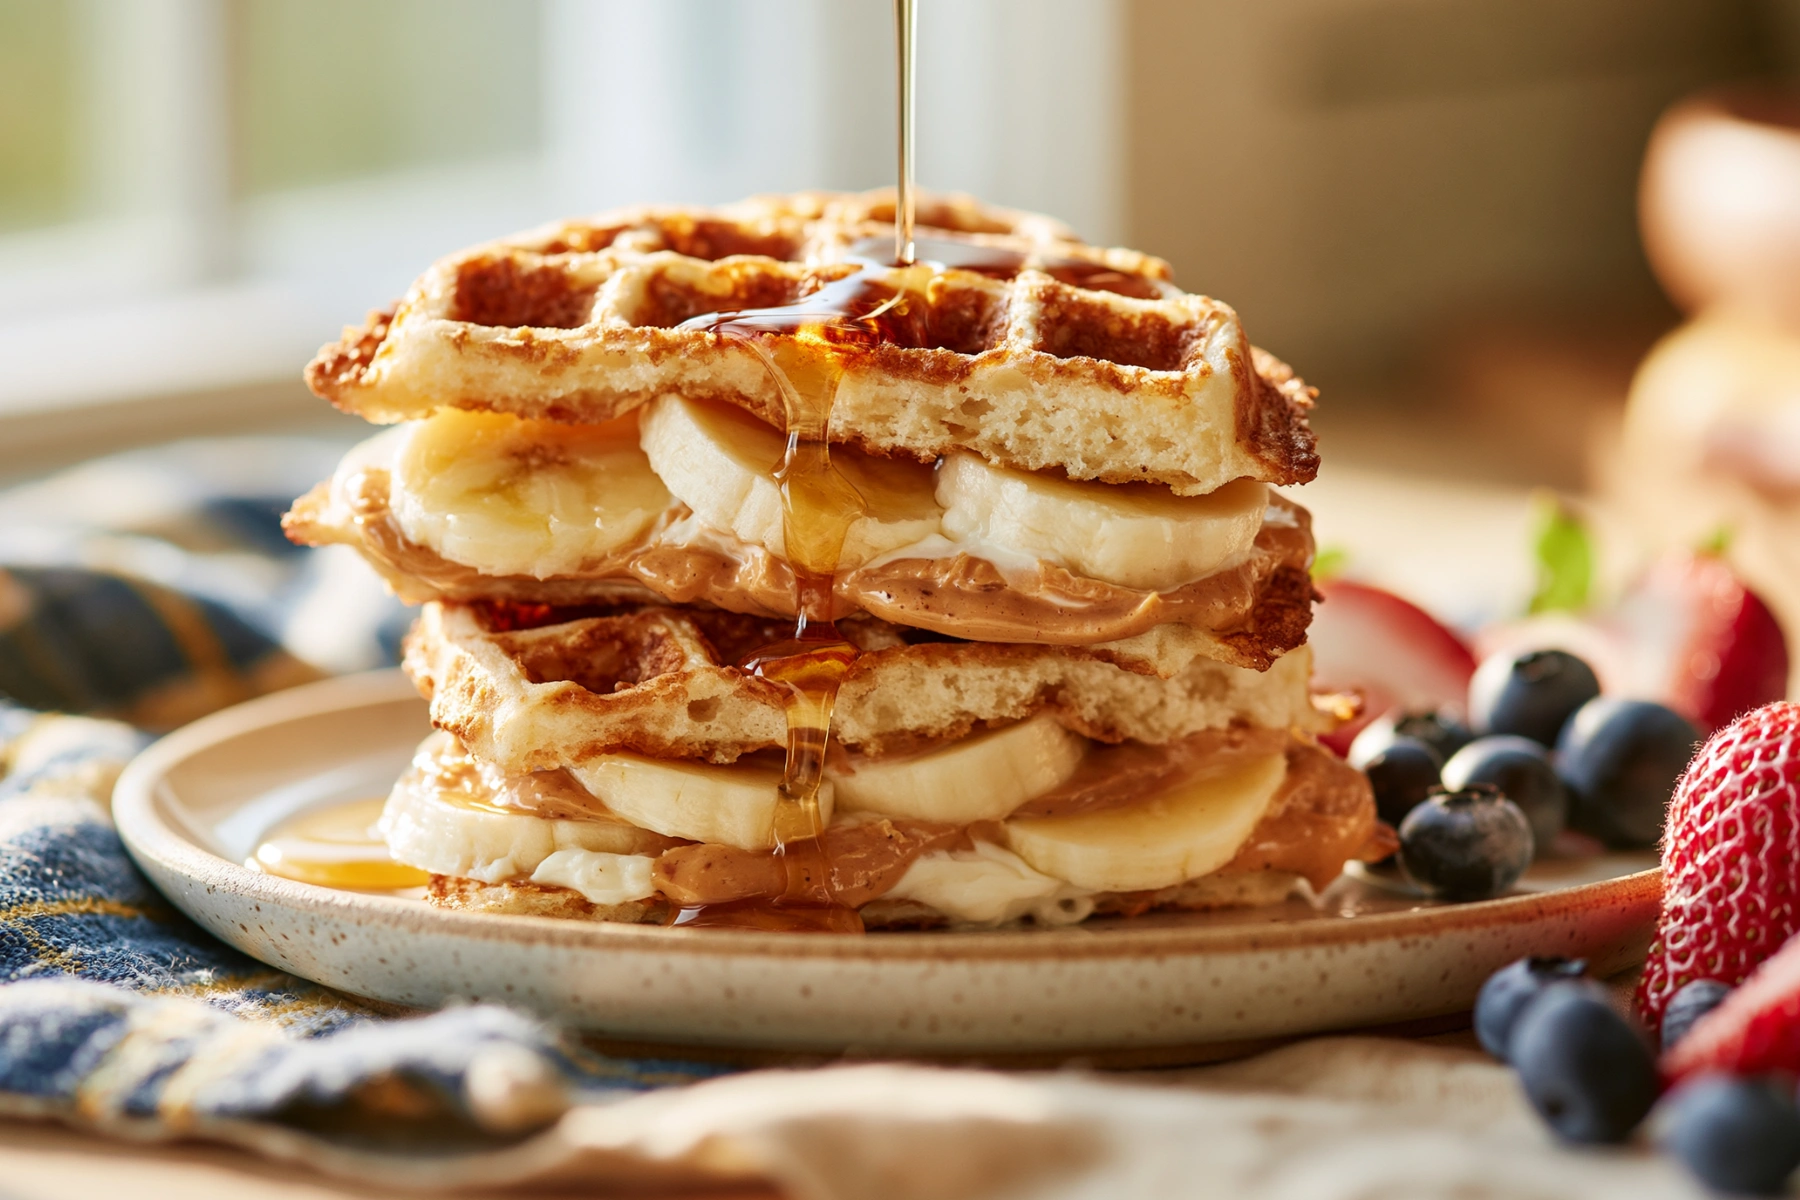
The peanut butter becomes warm and creamy while the banana softens slightly, creating a filling that tastes like comfort food without requiring much effort.
Flavor Ideas
One of the best things about waffle breakfast sandwiches is how easy they are to customize.
| Flavor | Filling |
|---|---|
| Peanut Butter Banana | Peanut butter, banana, cinnamon |
| Strawberry Cheesecake | Cream cheese, strawberries |
| Blueberry Almond | Almond butter, blueberries |
| Apple Cinnamon | Thin apple slices, cinnamon |
| Chocolate Banana | Chocolate hazelnut spread, banana |
| Mixed Berry | Cream cheese, mixed berries |
| Maple Pecan | Peanut butter, chopped pecans, maple syrup |
| Tropical | Coconut flakes, banana, almond butter |
Making several varieties at once keeps breakfast interesting throughout the week.
Tips Before You Begin
A few simple tips help produce better freezer breakfast sandwiches every time.
- Toast the waffles until golden and crisp.
- Allow them to cool before assembling.
- Avoid overfilling.
- Leave a small border around the edges.
- Wrap each sandwich individually.
- Label every sandwich with the flavor and date.
- Freeze the sandwiches the same day you prepare them.
These small habits make a big difference when reheating later.
Quick Frozen Waffle Summary
| Detail | Information |
|---|---|
| Prep Time | 15 minutes |
| Cook Time | 5 minutes |
| Total Time | 20 minutes |
| Yield | 4 sandwiches |
| Freezer Friendly | Yes |
| Best Storage | Up to 2 months |
| Difficulty | Easy |
If you want to round out breakfast, I love adding something savory on the side. These air fryer breakfast potatoes are a lifesaver when you want that diner style plate at home without much work.
How to Make Frozen Waffle Sweet Breakfast Sandwiches
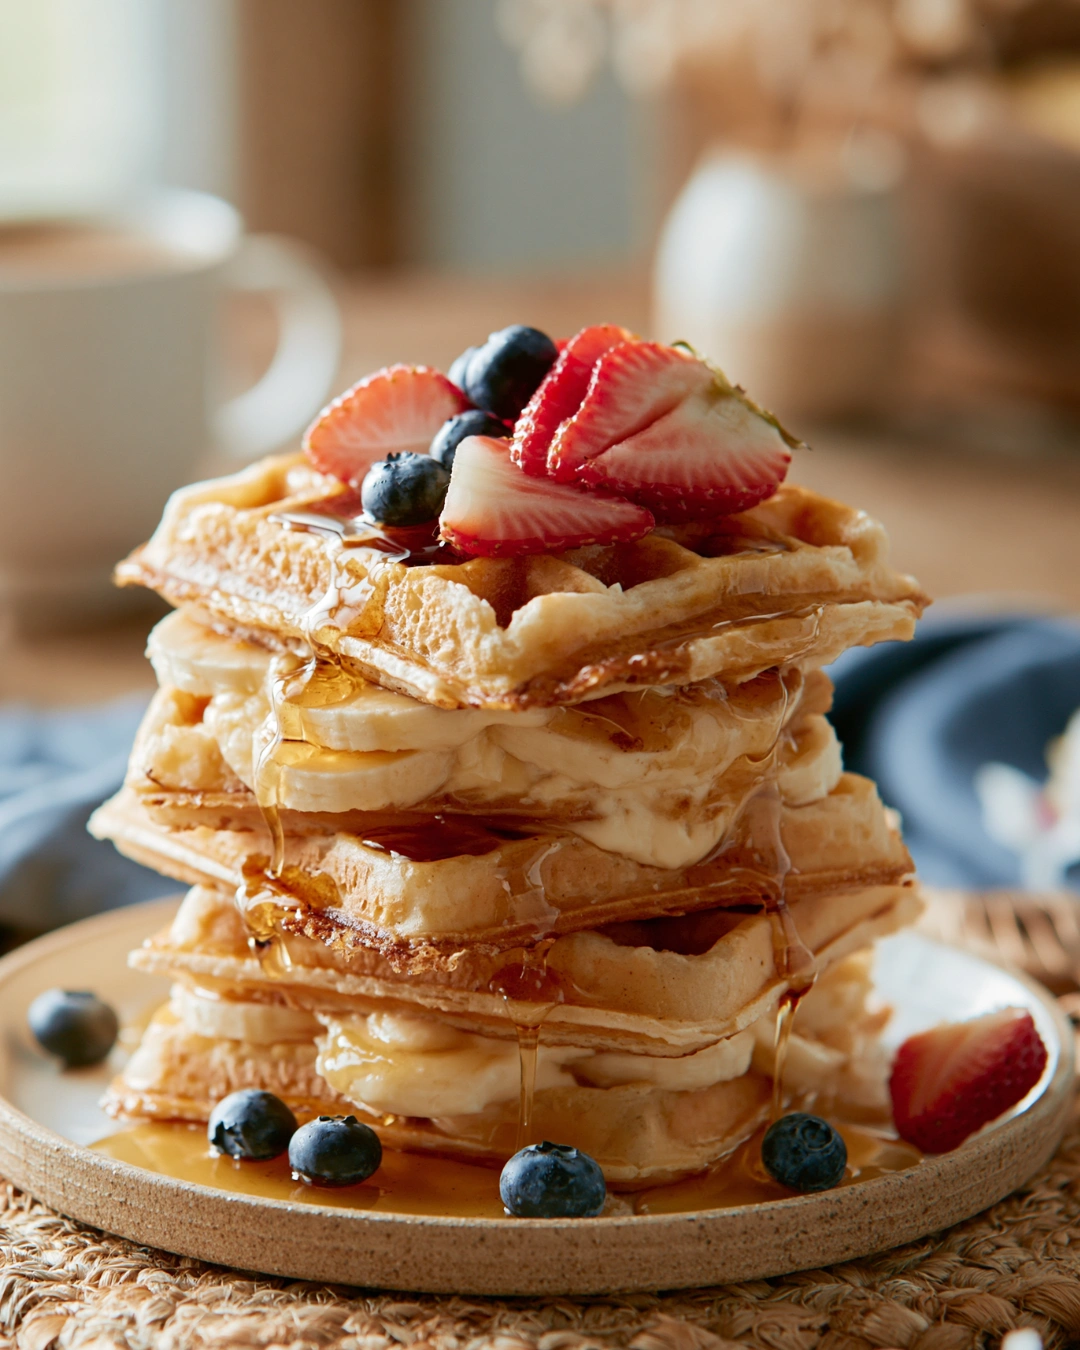
Making these freezer-friendly breakfast sandwiches is surprisingly easy. Once you’ve prepared them a couple of times, you’ll be able to assemble a whole week’s worth in less than 30 minutes. The key is to toast the waffles first, let them cool completely, and avoid overfilling each sandwich.
Step 1: Toast the Waffles
Start by toasting the frozen waffles according to the package directions, but let them cook a little longer than you normally would.
You want them to be:
- Golden brown
- Slightly crisp
- Firm enough to hold the filling
This extra crispness helps the waffles stay sturdy after freezing and reheating.
Tip: Avoid using waffles that are still soft, as they can become soggy once frozen.
Step 2: Let the Waffles Cool
Place the toasted waffles on a cooling rack or large plate.
Allow them to cool for about 5 minutes.
Cooling prevents steam from getting trapped inside the wrapping, which can create ice crystals and soften the waffles.
Don’t skip this step, it makes a noticeable difference in texture.
Step 3: Spread the Nut Butter
Once the waffles have cooled slightly, spread about 1 tablespoon of peanut butter, almond butter, or sunflower butter over one side of each waffle.
Spread it evenly while leaving a small border around the edges.
The nut butter serves two purposes:
- It adds flavor and protein.
- It creates a barrier that helps keep moisture from the fruit away from the waffles.
Step 4: Add the Fruit
Arrange thin banana slices over the nut butter.
If you’re using strawberries or blueberries, use a moderate amount so the sandwich closes easily.
Avoid piling the fruit too high.
A thinner layer reheats more evenly and keeps the sandwich from falling apart.
Step 5: Sprinkle the Cinnamon
Lightly dust the fruit with ground cinnamon.
If you’d like, add a few mini chocolate chips, chopped nuts, or shredded coconut.
These optional ingredients add texture and make each sandwich unique.
Step 6: Close the Sandwich
Place the second waffle on top.
Press gently to hold everything together.
Don’t press too hard, or the filling may squeeze out during reheating.
Best Flavor Combinations of Frozen Waffle
One reason I never get tired of these waffle breakfast sandwiches is the variety. By changing just one or two ingredients, you can enjoy a different breakfast every day of the week.
Peanut Butter Banana
This classic combination is creamy, naturally sweet, and packed with protein.
You’ll need:
- Peanut butter
- Banana slices
- Cinnamon
Strawberry Cheesecake
A sweeter option that tastes almost like dessert.
You’ll need:
- Cream cheese
- Fresh strawberries
- Honey after reheating
Blueberry Almond
Fresh blueberries pair beautifully with almond butter.
Add a drizzle of maple syrup after warming for even more flavor.
Chocolate Banana
Perfect for weekends or special breakfasts.
Use:
- Chocolate hazelnut spread
- Banana slices
- Chopped hazelnuts (optional)
Apple Cinnamon
Thin apple slices soften nicely during reheating.
Sprinkle generously with cinnamon for an apple pie-inspired breakfast.
Mixed Berry
Use a combination of:
- Strawberries
- Blueberries
- Raspberries
Pair with cream cheese or almond butter.
Assemble Multiple Sandwiches
If you’re meal prepping for the week, creating an assembly line makes everything faster.
I like to:
- Toast all the waffles.
- Cool them together.
- Spread the nut butter.
- Add the fruit.
- Sprinkle cinnamon.
- Close each sandwich.
- Wrap them all at once.
This method saves time and keeps your kitchen organized.
How to Freeze Frozen Waffle Breakfast Sandwiches
Freezing these sandwiches correctly helps them taste almost as fresh as the day you made them.
Step 1: Wrap Individually
Wrap each sandwich tightly in:
- Parchment paper
- Wax paper
- Aluminum foil
Individual wrapping prevents freezer burn and makes grabbing breakfast quick and easy.
Step 2: Store in Freezer Bags
Place the wrapped sandwiches into a large freezer-safe zip-top bag or airtight container.
Remove as much air as possible before sealing.
Less air means better texture after freezing.
Step 3: Label Everything
Write the following on each bag:
- Flavor
- Date prepared
You’ll thank yourself later when your freezer contains several different varieties.
Step 4: Freeze Flat
Lay the sandwiches flat in the freezer until completely frozen.
Once solid, you can stack them upright to save space.
How Long Do They Last?
For the best flavor and texture:
| Storage Method | Time |
|---|---|
| Refrigerator | Up to 3 days |
| Freezer | Up to 2 months |
Although they’re still safe after two months if stored properly, the waffles gradually lose their crispness.
Best Ways to Reheat Frozen Waffle
Reheating properly makes all the difference.
Microwave
- Remove all wrapping.
- Microwave for 45–60 seconds.
- Let the sandwich rest for one minute before eating.
This is the quickest option but produces a softer waffle.
Toaster Oven
For the best texture:
- Heat at 350°F for 6–8 minutes.
The waffle becomes crisp while the filling warms evenly.
Air Fryer
One of my favorite methods.
- 350°F
- 4–5 minutes
The outside becomes beautifully crisp without drying out the filling.
Conventional Oven
If you’re warming several sandwiches at once:
- 350°F
- 10–12 minutes
This method works well for family breakfasts.
Also, if you are the kind of person who likes to plan meals beyond breakfast, I keep this list bookmarked for those nights when I need easy ideas fast: best easy dinner ideas. It pairs nicely with the whole prep ahead mindset.
Meal Prep Freezer Breakfast Sandwiches
One of the biggest reasons I love these Easy Frozen Waffle Sweet Breakfast Sandwiches is how well they fit into a busy week. Spending 20 to 30 minutes in the kitchen on Sunday means breakfast is ready for days. Instead of rushing to find something to eat before heading out the door, you can simply grab a sandwich from the freezer and reheat it in minutes.
If you’re new to meal prepping, don’t feel like you need to make a huge batch. Start with four sandwiches. Once you see how convenient they are, you can easily double the recipe the next time.
Create an Assembly Line
The fastest way to prep several sandwiches is to organize everything before you begin.
Here’s my routine:
- Toast all of the waffles.
- Let them cool completely.
- Spread the nut butter.
- Add the fruit.
- Sprinkle cinnamon.
- Close each sandwich.
- Wrap them individually.
- Label and freeze.
This method keeps the process simple and helps every sandwich turn out the same.
Expert Tips for Freezing Breakfast Sandwiches
After making these countless times, I’ve learned a few tricks that make a noticeable difference.
Toast the Waffles Well
This is probably the most important tip.
A lightly toasted waffle often becomes soft after freezing.
A golden, crisp waffle holds up much better and reheats beautifully.
Cool Before Wrapping
Warm waffles create steam.
Steam turns into ice crystals inside the wrapper, which leads to soggy sandwiches.
Always let the waffles cool for at least five minutes before assembling.
Don’t Overfill
It’s tempting to pile on extra fruit and spreads, but less is often better.
Too much filling can:
- Leak during reheating
- Make the sandwich difficult to wrap
- Prevent even heating
A thin, even layer gives the best results.
Wrap Tightly
Each sandwich should be wrapped individually before going into a freezer bag.
Good options include:
- Parchment paper
- Wax paper
- Aluminum foil
For extra protection, place the wrapped sandwiches inside a freezer-safe zip-top bag.
Label Every Batch
Write:
- Flavor
- Date prepared
This makes it easy to rotate older sandwiches first.
Eat Within Two Months
Although the sandwiches remain safe longer, the waffles gradually lose their crispness.
For the best flavor, enjoy them within two months.
Common Mistakes to Avoid
Even a simple recipe can have a few pitfalls. Here’s how to avoid the most common ones.
| Mistake | Why It Happens | How to Fix It |
|---|---|---|
| Soggy waffles | Wrapped while warm | Cool completely before wrapping |
| Leaking filling | Too much filling | Leave a small border around the edges |
| Freezer burn | Poor wrapping | Wrap tightly and use freezer bags |
| Cold center | Insufficient reheating | Let the sandwich rest after microwaving |
| Dry waffles | Stored too long | Enjoy within two months |
Common Questions About Frozen Waffle
Can I make these Frozen Waffle without nut butter?
Yes. If you need a nut-free option, use sunflower seed butter or a seed butter blend. You can also spread cream cheese or a thick Greek yogurt cream cheese instead. If you prefer something sweeter, chocolate hazelnut spread or a thick fruit jam works well, although jam can become a little runny when reheated.
How do I keep the waffles from getting soggy?
The secret is to toast the waffles until they’re crisp before assembling the sandwiches. Let them cool completely so steam doesn’t get trapped inside the wrapping. When you’re ready to eat, reheating in a toaster oven or air fryer helps restore that crispy texture much better than using only a microwave.
Can I freeze them with fresh berries?
Yes, but use berries in moderation. Strawberries and blueberries release moisture as they thaw, so pairing them with peanut butter, almond butter, or cream cheese helps create a barrier that keeps the waffles from becoming soggy. For the best texture, enjoy berry-filled sandwiches within one month.
What is the best way to reheat at work?
If you only have access to a microwave, unwrap the sandwich and heat it for about 45 to 60 seconds. Let it sit for one minute before eating so the heat distributes evenly. If your workplace has a toaster oven, microwave it briefly first, then crisp it for 2 to 3 minutes.
How many should I prep at once?
A batch of four to six sandwiches is ideal for most families. It provides enough breakfasts for several days without taking up too much freezer space. If you have a larger family, doubling the recipe is an easy way to stay stocked for the week.
A sweet little breakfast habit worth keeping
If you try this Frozen Waffle, you will see why I keep coming back to the Deliciously Simple Easy Frozen Waffle Sweet Breakfast Sandwich when life gets busy. It is quick, cozy, and makes mornings feel a bit more manageable. If you want more inspiration in this same vibe, I have enjoyed browsing Waffle Breakfast Sandwiches – Alaska from Scratch for fun filling ideas, and Freezer Waffle Breakfast Sandwiches – The Creative Bite for more freezer friendly approaches. Make a small batch this weekend, toss them in the freezer, and thank yourself on Monday morning. You deserve an easy win before the day even starts.

Deliciously Simple Easy Frozen Waffle Sweet Breakfast Sandwich
Ingredients
Method
- Toast the waffles until extra crisp.
- Spread nut butter on one warm waffle so it melts slightly.
- Add banana slices and a sprinkle of cinnamon.
- Top with the second waffle and press gently.
- Serve immediately or freeze for later.
- Toast the waffles before freezing.
- Cool the waffles for about 5 minutes.
- Assemble the sandwiches, keeping the filling half an inch away from the edges.
- Wrap tightly in parchment paper or foil, then place in a freezer bag.
- Freeze flat until solid.
- Microwave for 45-75 seconds, then toast for a few minutes to crisp up.
- Or use a toaster oven only for best results.