
Coffee Brownies with Silky Mocha Frosting are what I bake when plain brownies aren’t quite enough, but making a layer cake sounds like too much work. These brownies stay thick and fudgy, while coffee deepens the chocolate flavor and gives every bite a cozy mocha edge. Then comes my favorite part: a smooth chocolate-coffee frosting spread generously across the cooled brownies.
They’re rich enough for a special dessert but simple enough for a weekend baking project. Better still, you can make them ahead, chill them for neat slices, and serve them with coffee when you want that little café-at-home moment.
- Why You’ll Love Coffee Brownies with Silky Mocha Frosting
- Ingredients for Coffee Brownies with Silky Mocha Frosting
- What Coffee Works Best in Brownies?
- How to Make Coffee Brownies
- How to Make Silky Mocha Frosting
- How to Make Fudgy Coffee Brownies
- How to Frost Coffee Brownies
- Coffee Brownies with Silky Mocha Frosting Variations
- What to Serve With Mocha Brownies
- How to Store Coffee Brownies with Silky Mocha Frosting
- Make-Ahead Mocha Brownies
- Common Questions
- Coffee Brownies with Silky Mocha Frosting for Chocolate Lovers
Why You’ll Love Coffee Brownies with Silky Mocha Frosting
There are two distinct layers to this recipe.
First, you get a dense chocolate brownie with a noticeable coffee flavor. Then a creamy mocha frosting adds another hit of chocolate and espresso.
Rich Chocolate Meets Bold Coffee
Coffee and chocolate work beautifully together because coffee brings out cocoa’s deeper roasted notes.
However, I don’t want these brownies to taste bitter.
That’s why I use a controlled amount of strong coffee or espresso powder rather than pouring a full cup of coffee into the batter.
The result still tastes unmistakably like Coffee Brownies with Silky Mocha Frosting, but chocolate remains at the center of every bite.
If you love this combination, my Decadent Mocha Coffee Overnight Oats bring mocha flavor to breakfast. Meanwhile, Espresso Coffee Cheesecake takes the coffee-dessert combination in an even creamier direction.
Fudgy Centers With Silky Frosting
I want a brownie that bends toward fudgy rather than cakey.
Butter, sugar, eggs, cocoa, and a restrained amount of flour create that dense texture.
Then the frosting brings a completely different consistency.
It’s soft, creamy, and easy to spread, so you get dense brownie underneath and silky mocha frosting on top.
That contrast makes these brownies particularly satisfying.
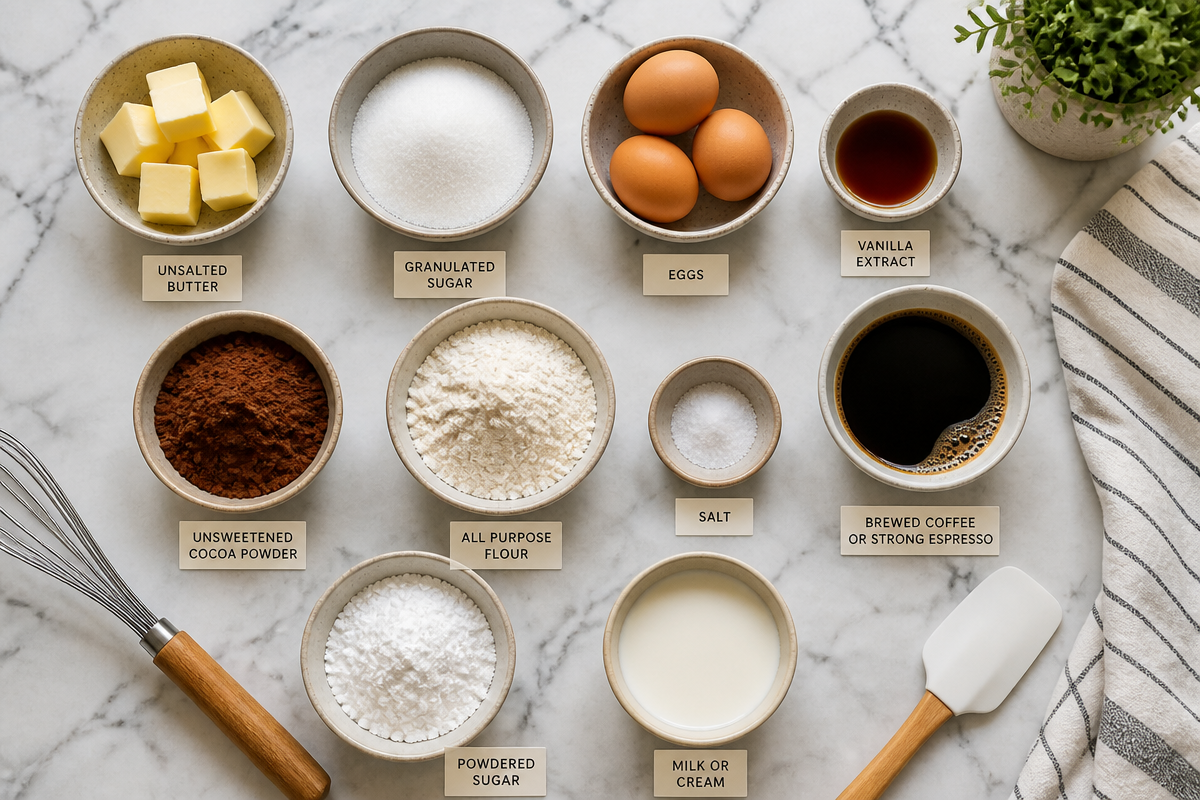
Ingredients for Coffee Brownies with Silky Mocha Frosting
You don’t need unusual ingredients for this recipe.
However, fresh cocoa and good coffee make a noticeable difference because they provide most of the flavor.
For the Coffee Brownies
- 1/2 cup unsalted butter
- 1 cup granulated sugar
- 2 large eggs
- 1 teaspoon pure vanilla extract
- 2 tablespoons strong brewed coffee or espresso, cooled slightly
- 3/4 cup unsweetened cocoa powder
- 3/4 cup all-purpose flour
- 1/2 teaspoon fine salt
- 1 teaspoon instant espresso powder, optional
- 1/2 cup semisweet or dark chocolate chips, optional
For the Silky Mocha Frosting
- 1/2 cup unsalted butter, softened
- 1 3/4 cups powdered sugar
- 1/4 cup unsweetened cocoa powder
- 1 to 2 teaspoons instant espresso powder
- 1 teaspoon vanilla extract
- 2 to 3 tablespoons heavy cream or whole milk
- Pinch of salt
| Ingredient | What It Does | Helpful Tip |
|---|---|---|
| Cocoa powder | Creates deep chocolate flavor | Use fresh cocoa with a strong chocolate aroma |
| Coffee | Adds roasted mocha flavor | Use strong coffee rather than a weak brew |
| Butter | Adds richness and dense texture | Let frosting butter soften before mixing |
| Powdered sugar | Gives the frosting structure | Add the cream gradually |
| Flour | Holds the brownies together | Spoon and level instead of packing it |
If you want a different flour approach, my Brownies with Almond Flour provide another chocolate brownie option.
What Coffee Works Best in Brownies?
You have several options, so don’t feel like you need an espresso machine.
Strong Brewed Coffee
Regular coffee works when you brew it strong.
Let it cool slightly before adding it to the batter.
Since this recipe uses only 2 tablespoons, you get coffee flavor without introducing too much extra liquid.
Espresso
Fresh espresso gives you a concentrated roasted flavor.
Again, let it cool slightly before mixing it into the batter.
Instant Espresso Powder
This is my favorite option when I want stronger coffee flavor without changing the batter’s moisture level.
You can add approximately 1 teaspoon to the brownie batter.
For the frosting, dissolve 1 to 2 teaspoons in a tiny amount of warm cream or water before mixing.
Instant Coffee
Instant coffee also works.
Because different brands vary in strength, start conservatively.
Dissolve the granules before adding them so you don’t end up with bitter coffee specks throughout the frosting.
How to Make Coffee Brownies
An 8×8-inch pan gives you thick brownies with a dense center.
A 9×9-inch pan also works, although the brownies will bake a little faster because they’re thinner.
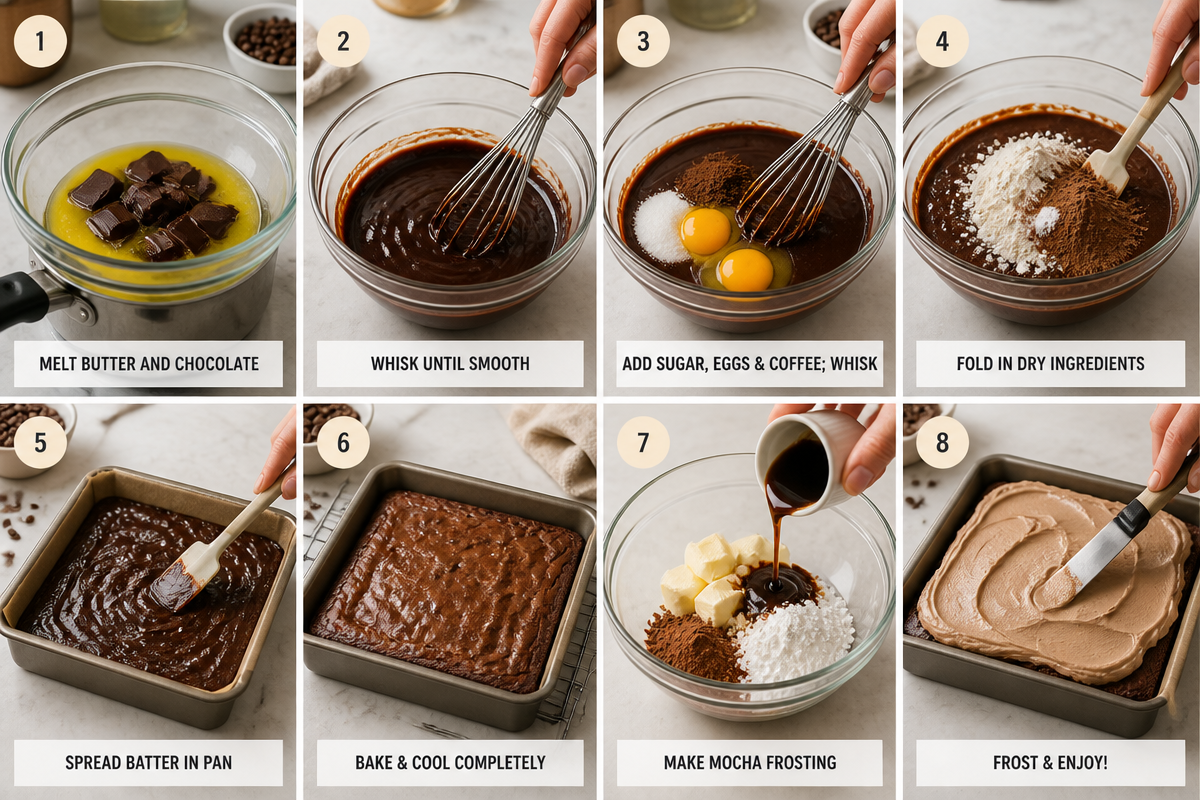
Step-by-Step Brownie Directions
Step 1: Prepare the pan. Heat the oven to 350°F.
Line an 8×8-inch metal baking pan with parchment, leaving enough overhang to lift the brownies out later.
Step 2: Melt the butter. Melt the butter gently.
Let it cool for a minute, but keep it warm.
Step 3: Whisk butter and sugar. Add the granulated sugar to the warm butter.
Whisk until thoroughly combined.
Step 4: Add the eggs. Add the eggs and vanilla.
Whisk until the mixture looks smooth, glossy, and slightly thicker.
Then whisk in the cooled coffee.
Step 5: Add the dry ingredients. Add cocoa powder, flour, salt, and optional espresso powder.
Fold everything together with a spatula just until you no longer see dry flour.
Don’t continue mixing after that point.
Step 6: Add chocolate chips. Fold in the chocolate chips if you’re using them.
Step 7: Fill the pan. Spread the batter evenly into your prepared pan.
Smooth the surface gently.
Step 8: Bake. Bake for approximately 22 to 28 minutes.
Start checking early.
A toothpick inserted near the center should come out with several moist crumbs rather than wet batter.
Step 9: Cool completely. Leave the brownies in the pan until completely cool.
Don’t frost warm brownies.
For another intensely chocolatey dessert, Fudge Chocolate Brownie Cookies give you brownie-like richness in cookie form.
How to Make Silky Mocha Frosting
The frosting should hold soft swirls while remaining smooth enough to spread easily.
Start With Softened Butter
Beat softened butter until creamy.
This gives you a smooth foundation before adding the dry ingredients.
If the butter remains cold and firm, the finished frosting can contain small lumps.
Add Cocoa and Powdered Sugar
Add the powdered sugar and cocoa gradually.
Mix on low at first so cocoa and sugar don’t fly across the kitchen.
Once incorporated, increase the speed slightly and beat until combined.
Add the Coffee Flavor
Dissolve the espresso powder in a small amount of warm cream or water.
Let it cool briefly.
Then beat it into the frosting with vanilla and a pinch of salt.
Adjust the Consistency
Add cream one teaspoon at a time.
Stop once the frosting becomes silky and easily spreadable.
If it gets too soft, add a little powdered sugar.
If it feels too stiff, add another teaspoon of cream.
The final frosting should create smooth swirls without running off the brownies.
How to Make Fudgy Coffee Brownies
Brownie texture comes down to measurements, mixing, and baking time.
Measure Flour Carefully
Too much flour makes brownies drier and more cake-like.
For accurate results, weigh the flour if you can.
Otherwise, spoon flour into your measuring cup and level the top.
Don’t push flour down into the cup.
Don’t Overmix
Once you add flour, fold the batter gently.
Stop as soon as the dry streaks disappear.
You don’t need a perfectly beaten batter.
Don’t Overbake
This matters most.
The brownies should look set around the edges, while the center remains slightly softer.
A toothpick with moist crumbs means you’re close.
A completely clean toothpick can indicate that you’ve gone beyond the fudgy stage.
The brownies continue setting as they cool.
How to Frost Coffee Brownies
Patience pays off here.
Warm brownies and buttercream-style frosting don’t get along.
Cool the Brownies Completely
Give the brownies at least 45 minutes to cool.
Depending on your kitchen temperature, they may need longer.
If you’re in a hurry, refrigerate the cooled-down pan briefly before frosting.
Spread a Generous Layer
Spoon the mocha frosting across the brownie surface.
Then use an offset spatula or the back of a spoon to spread it from edge to edge.
I like creating loose swirls instead of making the surface perfectly flat.
That gives the brownies a relaxed bakery-style finish.
Chill Before Cutting
For especially clean squares, refrigerate the frosted brownies for about 20 to 30 minutes.
Then lift them from the pan using the parchment.
Use a large sharp knife to cut.
Wipe the blade clean between slices.
Coffee Brownies with Silky Mocha Frosting Variations
The base recipe already delivers plenty of flavor, but a few additions work particularly well.
Double Chocolate Coffee Brownies
Fold 1/2 cup semisweet or dark chocolate chips into the batter.
They create little pockets of melted chocolate without making the frosting overly sweet.
Walnut Mocha Brownies
Add 1/2 cup toasted chopped walnuts.
Pecans also work.
Toast the nuts first and let them cool before folding them into the batter.
Cinnamon Mocha Brownies
Add a small pinch of cinnamon.
Keep the amount restrained.
You want a subtle warmth rather than an obvious cinnamon dessert.
Salted Mocha Brownies
Finish the frosting with a very light sprinkle of flaky salt.
The salt creates a nice contrast with the sweet frosting and dark cocoa.
Extra Coffee Brownies
Increase the espresso powder slightly if you want coffee to stand alongside the chocolate more strongly.
However, add it gradually.
Too much instant espresso can make the brownies bitter.
If coffee desserts have become your current baking theme, Moist Sour Cream Coffee Cake gives you something lighter to serve at brunch.
What to Serve With Mocha Brownies
These brownies are rich, so simple pairings work best.
Fresh Coffee
Coffee makes the obvious pairing.
Try drip coffee, espresso, an Americano, or cappuccino.
The drink reinforces the roasted notes without adding more sweetness.
For a cold option, Vanilla Iced Coffee pairs naturally with the mocha frosting.
Vanilla Ice Cream
A small scoop of vanilla ice cream creates a cool contrast against the dense chocolate brownie.
If you serve the brownie slightly warm, add the frosting afterward or warm an unfrosted portion separately.
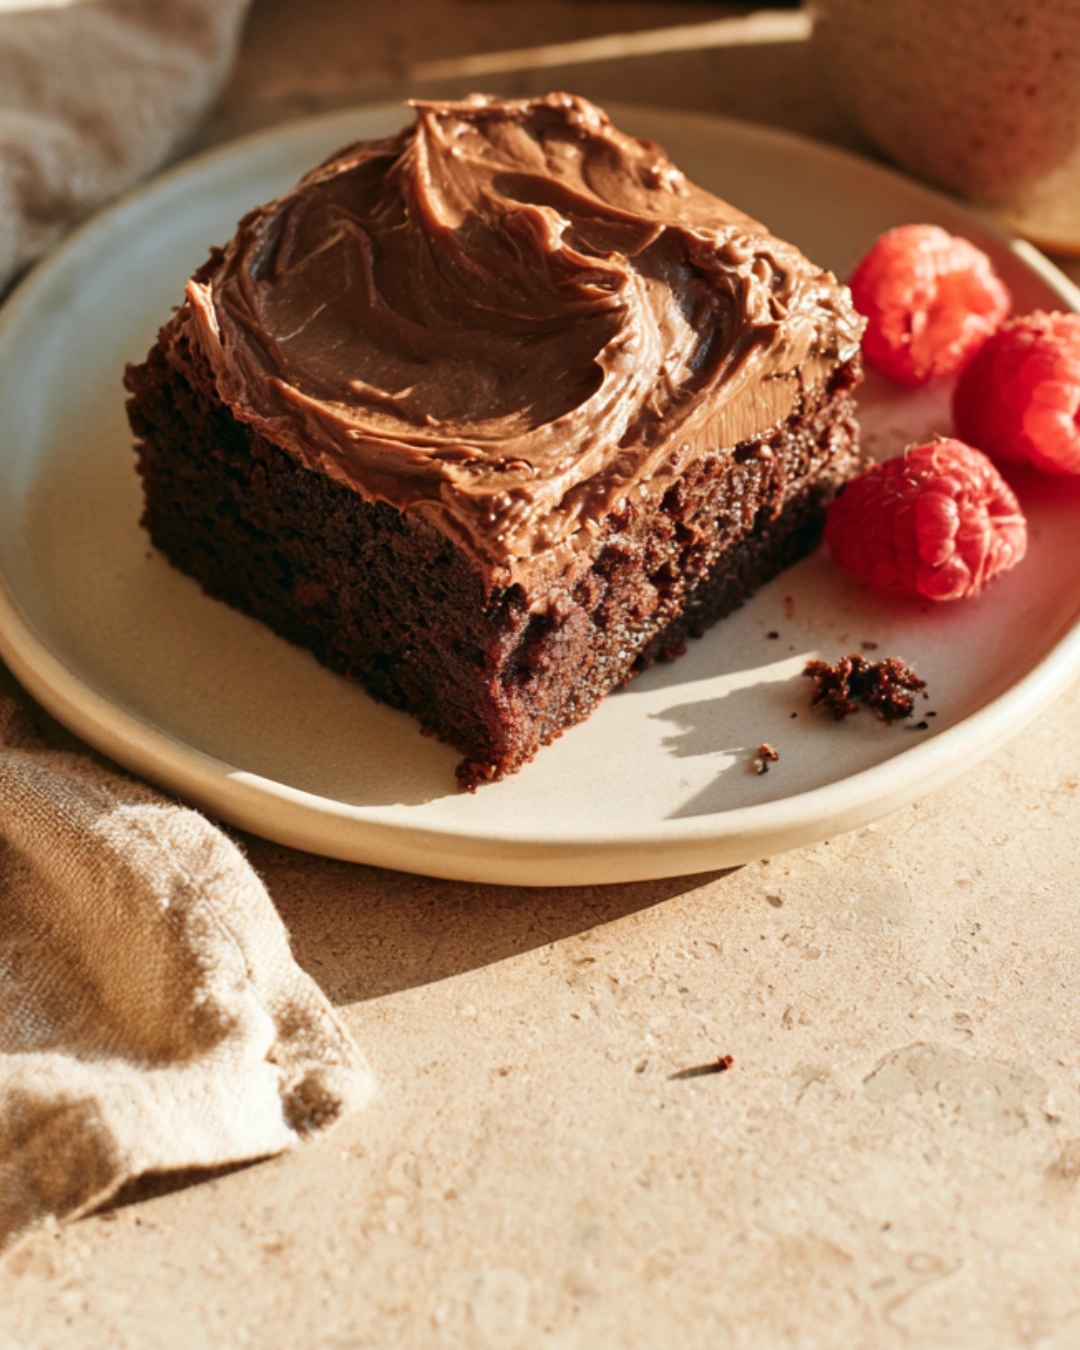
Fresh Berries
Raspberries and strawberries bring acidity that cuts through the richness.
You don’t need a complicated fruit sauce.
A few fresh berries beside each square are enough.
How to Store Coffee Brownies with Silky Mocha Frosting
These brownies work well when you need dessert ahead of time.
Room Temperature
Keep the frosted brownies in an airtight container for up to about 3 days in a cool room.
If your kitchen runs warm, refrigerate them instead.
Refrigerator
Store the brownies covered in the refrigerator for approximately 5 to 6 days.
The texture becomes firmer when cold.
For a softer brownie and frosting, let an individual square sit at room temperature for 10 to 20 minutes before eating.
Freezer
Slice the brownies first.
Then wrap individual squares and place them in a freezer-safe container or bag.
Freeze for up to approximately 2 months.
Thaw them in the refrigerator or at room temperature.
Make-Ahead Mocha Brownies
If you’re serving these for a party, you don’t need to make everything at the last minute.
Bake the Brownies the Day Before
Bake and cool the brownies.
Cover the pan well and leave it in a cool place overnight.
Then prepare the frosting the next day.
Frost Before Serving
Frosting the brownies on the day you plan to serve them gives you the prettiest surface.
After frosting, chill briefly for cleaner cuts.
Interestingly, Coffee Brownies with Silky Mocha Frosting can taste even richer the next day because the coffee and chocolate flavors have had more time to settle together.
Common Questions
Can I make them without coffee?
Yes. Swap the brewed coffee for the same amount of milk or water, and skip espresso powder. They will still be great chocolate brownies, just not mocha.
What if I only have instant coffee, not espresso powder?
Totally fine. Use 1 to 2 teaspoons of instant coffee granules and dissolve them in a teaspoon of warm water first, then mix into the frosting or batter.
How do I cut them cleanly?
Chill the pan for 30 minutes, then use a sharp knife. Wipe the blade between cuts. It makes a big difference, especially with thick frosting.
Can I double the recipe?
Yes. Use a 9×13 pan. Bake a little longer, but start checking early. You want moist crumbs on the toothpick, not totally clean.
Why did my brownies turn out dry?
Usually it is overbaking or measuring too much flour. Spoon flour into your measuring cup instead of scooping straight from the bag, and pull the brownies when the center is still slightly soft.
Coffee Brownies with Silky Mocha Frosting for Chocolate Lovers
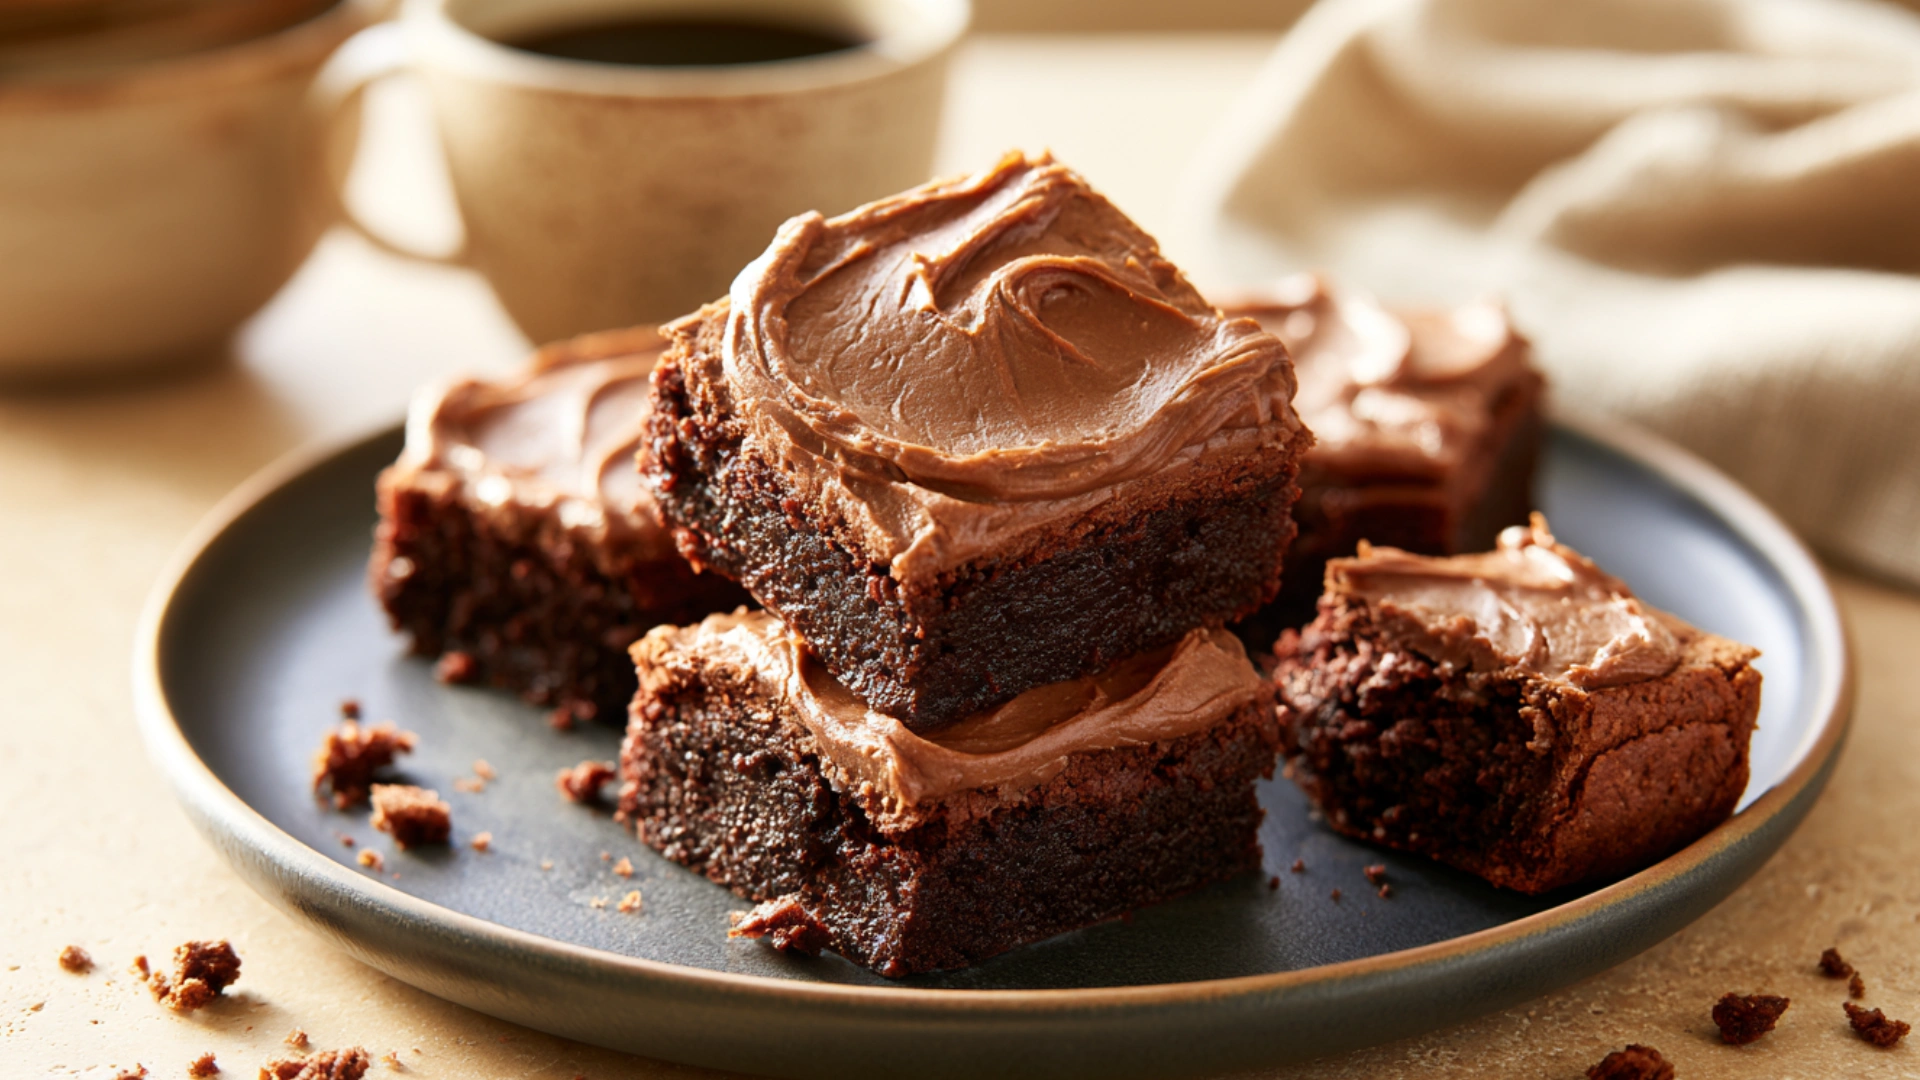
Coffee Brownies with Silky Mocha Frosting hit the middle ground between an everyday brownie and a full celebration cake. You get dense chocolate, roasted coffee notes, a fudgy center, and a generous layer of smooth mocha frosting without spending hours decorating.
For the best batch, measure your flour carefully, keep the coffee concentrated, stop mixing once the dry ingredients disappear, and pull the brownies while moist crumbs still cling to your toothpick.
Most importantly, let them cool before adding that frosting.
For more mocha baking inspiration, compare Espresso Brownies with Mocha Frosting, Wild Wild Whisk’s Mocha Cake, and Fudgy Mocha Brownies.

Coffee Brownies with Silky Mocha Frosting
Ingredients
Method
- Preheat your oven to 350°F (175°C) and prepare an 8×8 inch baking pan.
- Melt the butter and whisk in the granulated sugar while it is still warm.
- Add eggs and vanilla extract, whisking until smooth and slightly thickened.
- Gently stir in cocoa powder, flour, and salt just until combined.
- Mix in brewed coffee or espresso, adjusting the amount to ensure batter thickness.
- Pour the batter into the prepared baking pan and bake for 20-25 minutes, or until the edges look set but the center is slightly underdone.
- Allow brownies to cool completely before frosting.
- In a mixing bowl, beat softened butter with cocoa and powdered sugar.
- Add dissolved espresso and milk or cream gradually until smooth and glossy.
- Spread the frosting generously over cooled brownies.