
No-Bake Pink Velvet Cheesecake Bites are my go to move when I want something cute, sweet, and honestly kind of impressive, but I do not feel like turning on the oven. You know those days when you want dessert right now, not after preheating and baking and waiting forever? Yep, this is for that. These little bites taste like a creamy cheesecake truffle with a soft pink velvet vibe, and they are perfect for parties, baby showers, or just a Tuesday night on the couch. The best part is how beginner friendly they are, even if you have never made cheesecake anything in your life. Let me walk you through exactly how I make them so yours turn out smooth, pretty, and totally snackable.
Why You’ll Love This Recipe
First, these are genuinely easy. Like, mix, chill, roll, done. And because they are bite sized, they feel fun and a little fancy without extra work.
Here is why I keep coming back to No-Bake Pink Velvet Cheesecake Bites again and again:
- No oven needed, so your kitchen stays cool.
- Super creamy inside with that classic cheesecake tang.
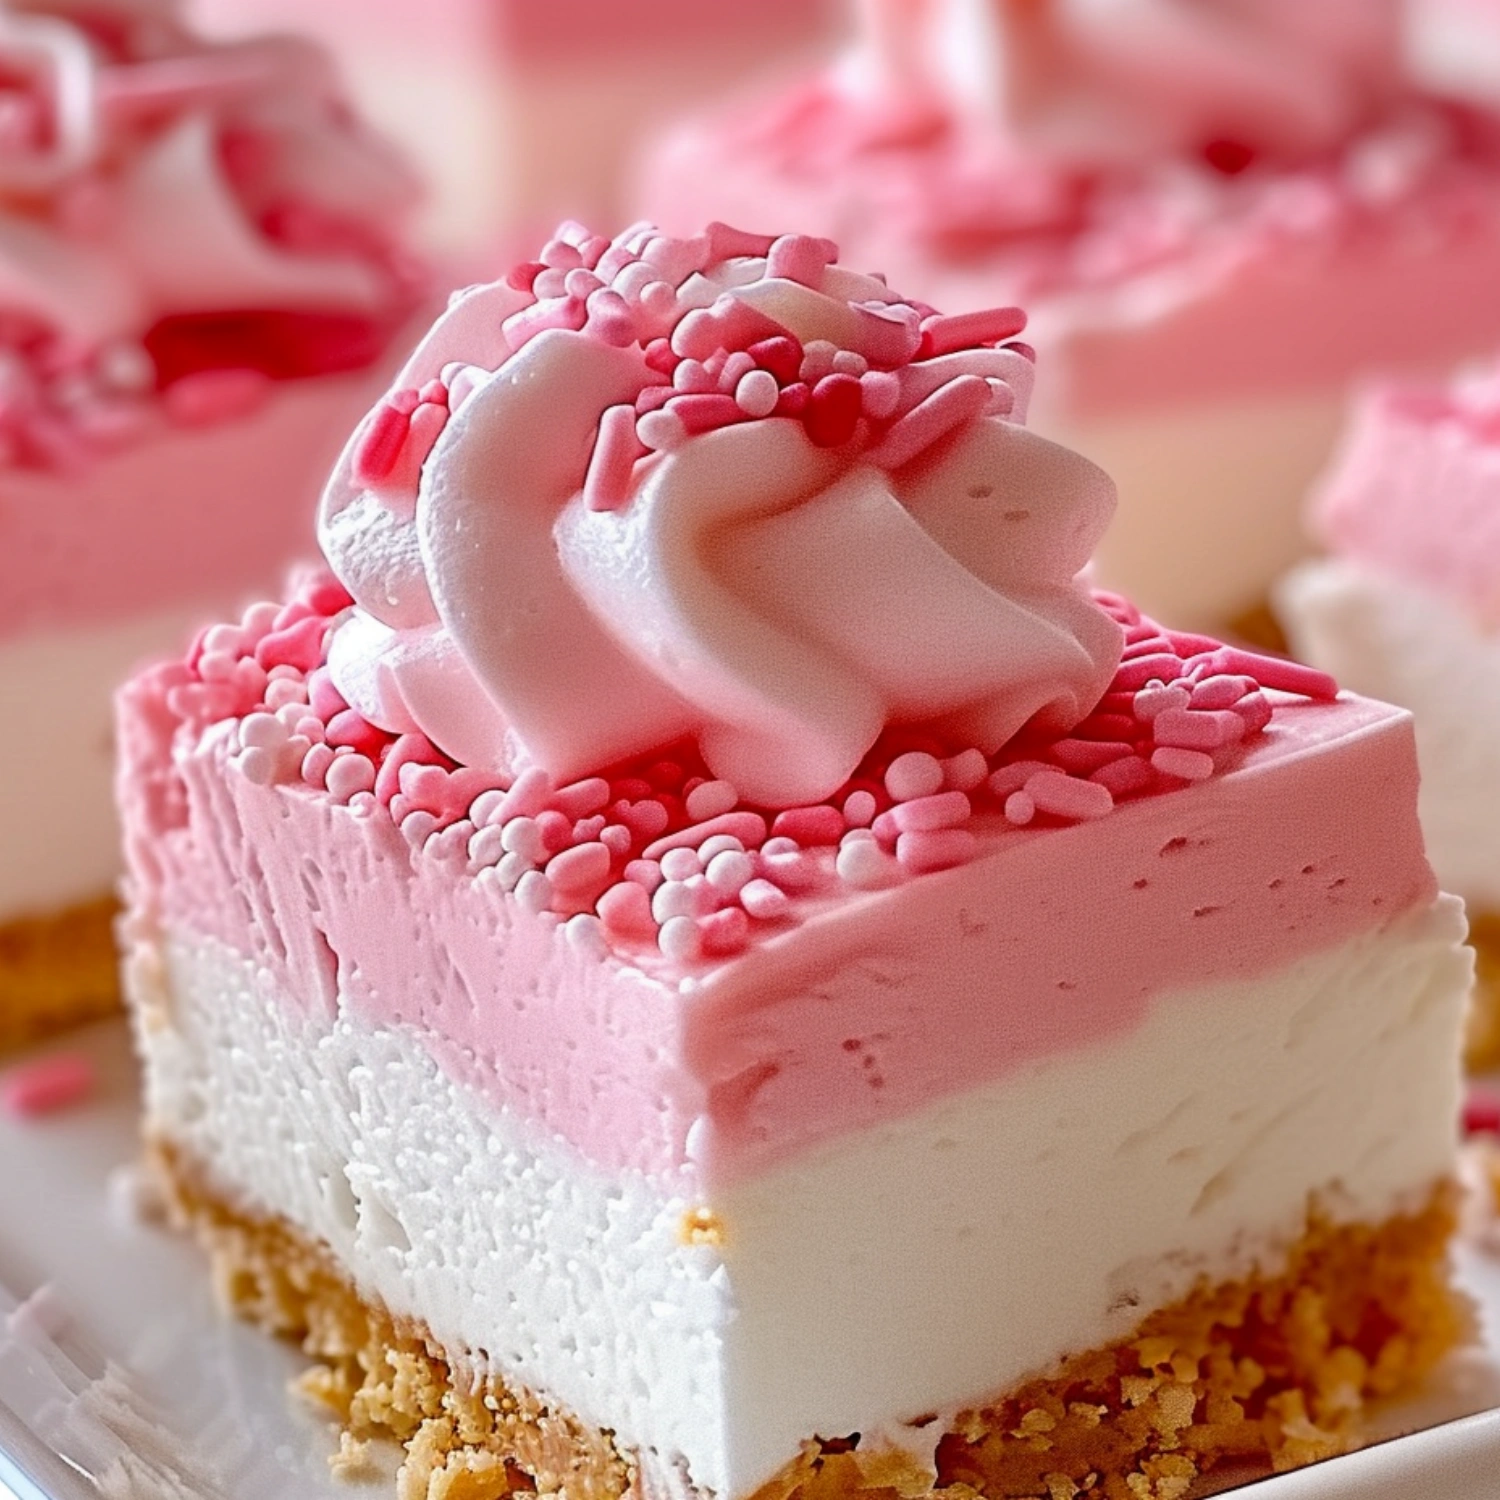
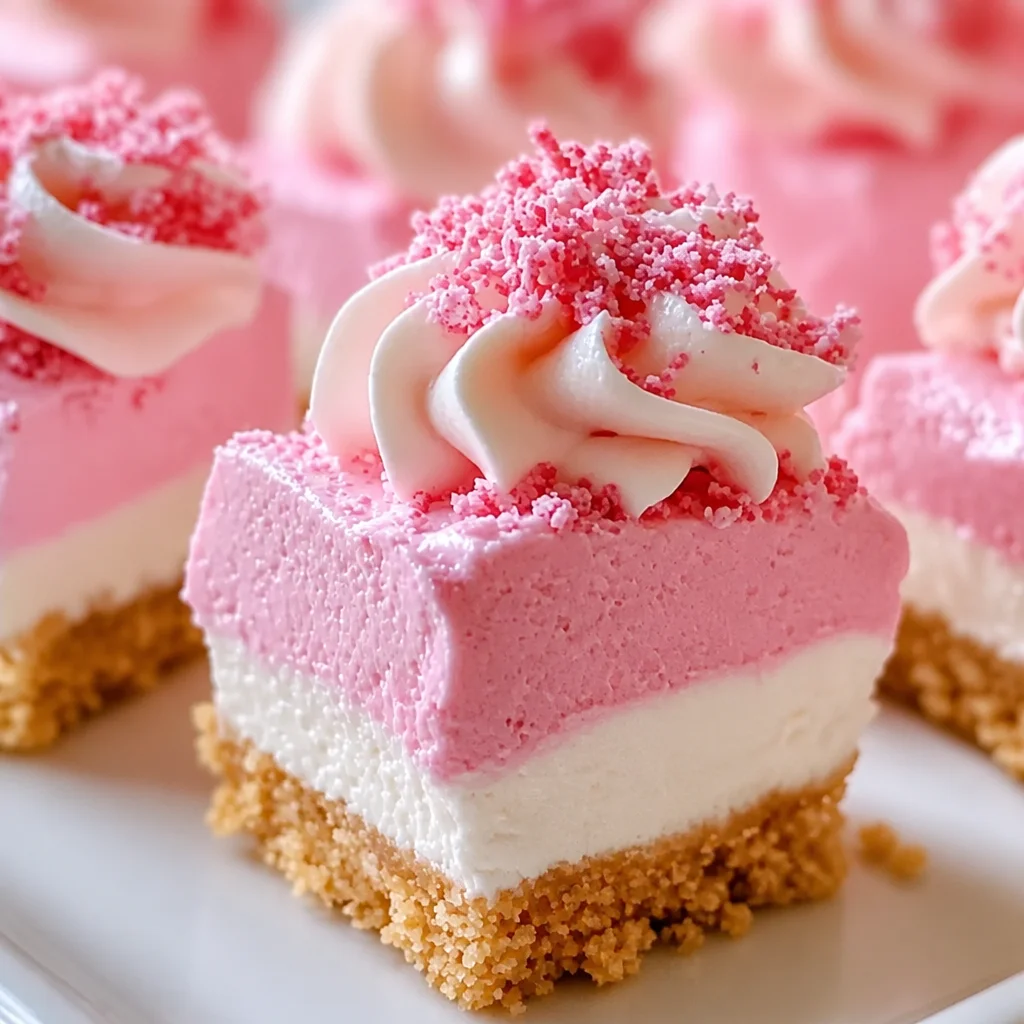
- Pretty pink color that looks adorable on a dessert tray.
- They are portion friendly, so you can grab one, or five, without cutting slices.
- Easy to dress up with sprinkles, crumbs, or a chocolate drizzle.
Also, if you love small cheesecake style snacks like I do, you might also want to peek at these blueberry cheesecake protein bites. Same cute snack energy, totally different flavor mood.
You Must Know
Before you start, there are a few little details that make a big difference. These are not hard rules, but they will save you from the common stuff like sticky dough or lumpy filling.
What you will need and how it works
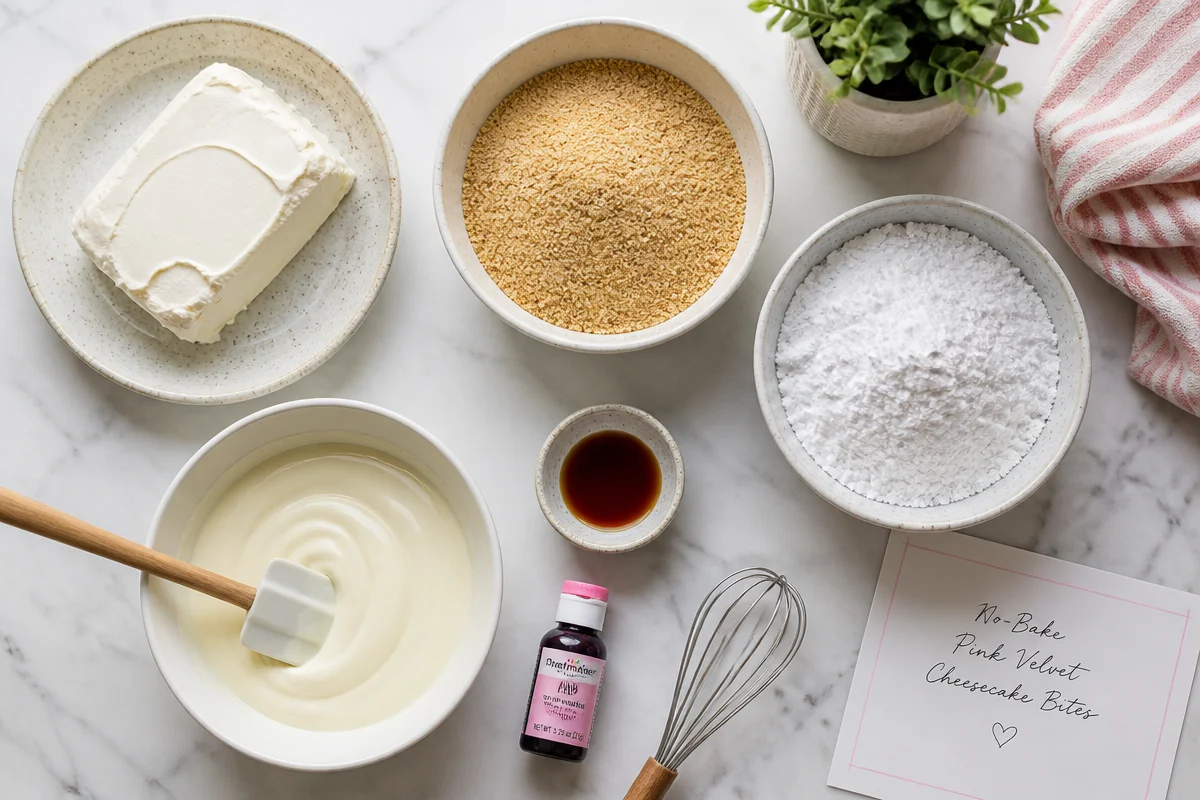
This is the basic setup. I am keeping it simple and flexible, because I know not everyone has the exact same pantry.
- Cream cheese: Use full fat if you can. It sets better and tastes richer.
- Crushed graham crackers: For structure and that cheesecake crust vibe.
- Powdered sugar: Sweetens and helps bind without feeling gritty.
- Vanilla: Makes everything taste like a real dessert, not just sweet dairy.
- Pink coloring or a tiny bit of beet powder: Optional, but it gives that pink velvet look.
- White chocolate or candy melts for coating: Also optional, but it makes them neat and giftable.
Quick heads up: if your cream cheese is too warm and melty, your mixture can get sticky fast. You want it softened enough to mix, but not liquidy.
And you will chill. Do not skip the chilling. Chilling is what turns the mixture from soft and messy into rollable little bites.
“I brought these to a girls night and they disappeared in like ten minutes. Everyone asked if they were from a bakery. The pink color was so cute, and they tasted like cheesecake truffles.”
Ingredient Substitutions
I am all about making recipes work for real life. If you are missing something, here are swaps I have tried or seen work really well.
Cream cheese: You can use reduced fat, but the bites may be a little softer. If you do, just add a bit more graham cracker crumb and chill longer.
Graham crackers: Vanilla wafers, golden cookies, or even crushed sandwich cookies work. If you want a stronger “cake” vibe, vanilla wafers are my favorite swap.
Powdered sugar: If you only have granulated sugar, I do not recommend swapping it straight, because it can feel grainy. If you can blitz it in a blender until fine, that helps.
Pink color: Gel food coloring gives the best color with the smallest amount. If you want something more natural, beet powder is surprisingly good, just start tiny because the color builds fast.
Coating: No coating is totally fine. You can roll in extra graham crumbs, powdered sugar, shredded coconut, or sprinkles instead. For a different style dessert that still feels like a mini cheesecake moment, these blueberry cheesecake cookie cups are also such a fun option.
Expert Tips for No-Bake Pink Velvet Cheesecake Bites
I have made these enough times to learn where things can go a little sideways. Here is what actually helps, without making it complicated.
How to get the texture just right
Soften, do not melt the cream cheese. I leave it out about 30 to 45 minutes, depending on my kitchen. If it gets too soft, toss it back in the fridge for a bit.
Mix until smooth first, then add crumbs. I always beat cream cheese with powdered sugar and vanilla until it looks fluffy and creamy. Only then do I stir in the crumbs, so I do not end up with little cream cheese chunks.
Chill before rolling. Two options that work:
- Refrigerate 45 to 90 minutes until it feels like soft cookie dough.
- Freeze 20 to 30 minutes if you are in a hurry, but do not forget it in there.
Coating and decorating without stress
If you dip in melted chocolate, let the bites chill first so they stay firm. Use a fork to dip, tap the fork gently on the bowl edge, then slide the bite off onto parchment paper. Add sprinkles right away, because chocolate sets fast.
If you are not dipping, rolling in crumbs is the easiest. I like a mix of graham crumbs and a pinch of powdered sugar for a soft, bakery style finish.
A simple base recipe you can follow
Since people always ask me for the “actual” amounts, here is my reliable batch that makes about 20 to 24 bites, depending on size.
- 8 oz cream cheese, softened
- 1 cup graham cracker crumbs, plus extra for rolling
- 1 cup powdered sugar
- 1 tsp vanilla
- Pink gel food coloring, 1 to 3 drops (add slowly)
- Optional: 1 to 1.5 cups melted white chocolate or candy melts for coating
Mix cream cheese, powdered sugar, vanilla, and coloring until smooth. Stir in graham crumbs. Chill. Scoop and roll into balls. Coat or roll as you like. Chill again until set.
That is it. No-Bake Pink Velvet Cheesecake Bites really are that friendly.
Make Ahead Options
This is one of my favorite parts, because you can make them when you have time, then serve when you need them.
Fridge: Store in an airtight container for up to 5 days. I like to separate layers with parchment so they do not stick together.
Freezer: Freeze on a tray until solid, then move to a freezer bag or container. They keep well for about 2 months. Thaw in the fridge for a few hours before serving.
Party plan: If I am serving these for guests, I usually make the mixture the night before, roll and coat them the next morning, then let them chill until it is time to put them out. They look their best when they are cold and firm.
Common Questions
Can I make No-Bake Pink Velvet Cheesecake Bites without food coloring?
Yes, totally. They will taste the same. You can also roll them in pink sprinkles if you still want that pink velvet look without dye.
Why are my bites too sticky to roll?
Usually it is because the mixture is warm or has too little crumb. Chill longer first. If it is still sticky, mix in 1 to 2 tablespoons more graham crumbs, then chill again.
Can I use whipped cream cheese?
I would not. Whipped cream cheese is softer and can make the bites hard to set. Stick with block style cream cheese for the best texture.
Do I have to coat them in chocolate?
Nope. Coating is optional. Rolling in graham crumbs, powdered sugar, or coconut is faster and still delicious.
How do I keep them neat for gifting?
Chill them until very firm, then place in mini cupcake liners inside a sturdy container. Keep them cold until you hand them off.
A sweet little final note before you start
If you want a dessert that feels special but does not make you work for it, No-Bake Pink Velvet Cheesecake Bites are honestly the move. Keep your cream cheese smooth, chill the mix, and you will be in great shape. If you are craving more variations, this recipe for No-Bake Pink Velvet Cheesecake Bites with Graham Cracker Crust is a fun one to compare with, especially if you love that crust flavor. And if you want something fruity with a chocolate finish, these No Bake Mini Strawberry Cheesecakes with Chocolate Ganache are totally worth bookmarking too. Now go grab a spoon and a bowl and make a batch, because you deserve an easy treat that makes you smile.

No-Bake Pink Velvet Cheesecake Bites
Ingredients
Method
- Soften cream cheese by leaving it out for 30 to 45 minutes.
- In a mixing bowl, beat the softened cream cheese with powdered sugar and vanilla until fluffy.
- Gradually add pink food coloring until you achieve the desired color.
- Stir in the graham cracker crumbs until mixed well.
- Chill the mixture in the refrigerator for 45 to 90 minutes, or freeze for 20 to 30 minutes until firm enough to roll.
- Once chilled, scoop small amounts of the mixture and roll them into balls.
- If desired, coat the balls in melted chocolate or roll them in extra graham crumbs.
- Chill again until set before serving.