There’s something truly magical about combining the deep richness of brownies with the creamy tang of cheesecake. That’s exactly what you get in a Loaded Brownie Cheesecake Cup, the ultimate handheld dessert that delivers both fudgy chocolate and velvety cream cheese in every bite. Whether you’re hosting a party, baking for a friend, or treating yourself on a quiet evening, these little cups hit the spot.
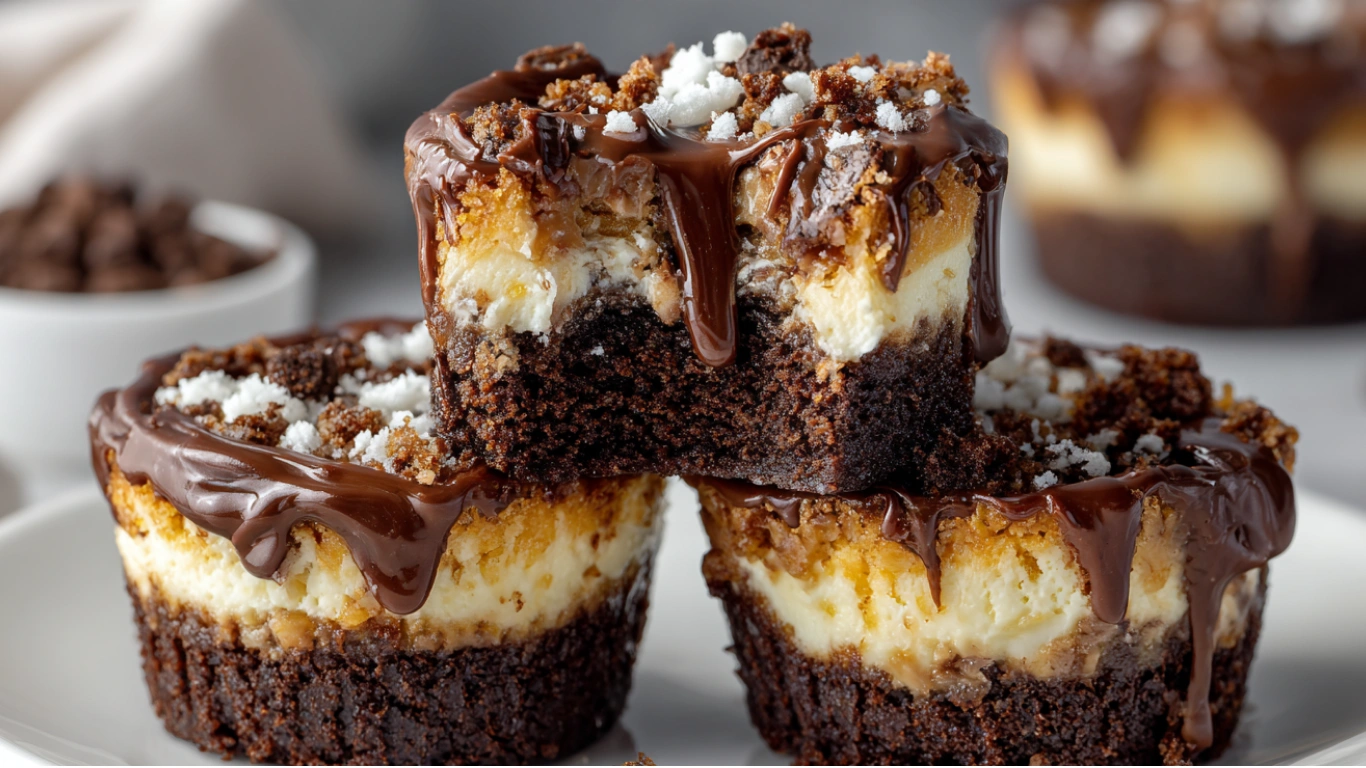
A Loaded Brownie Cheesecake Cup isn’t just a mashup of two desserts. It’s a perfectly balanced fusion of textures: the dense chew of a brownie meets the smooth, slightly tangy swirl of cheesecake. And thanks to the muffin-sized portions, they’re easy to serve, gift, or stash away in the fridge for later.
In this article, I’ll walk you through how to make your own Loaded Brownie Cheesecake Cups in just five simple steps. You’ll learn the essential ingredients, how to get that perfect cream cheese swirl, baking and storage tips, and even fun ways to customize the recipe. Whether you’re new to baking or already a kitchen pro, these cups are a guaranteed hit.
A Sweet Story Behind the Swirl
There’s something truly magical about combining the deep richness of brownies with the creamy tang of cheesecake. It’s a dessert combo that satisfies every craving in one bite. The first time I made these Loaded Brownie Cheesecake Cups wasn’t even planned. It was one of those rainy weekends when you find yourself scavenging the kitchen for something sweet.
I found a forgotten box of brownie mix and half a block of cream cheese left from making a batch of mini lemon cheesecakes. Inspiration struck, and I swirled the cream cheese into the brownie batter, poured it into cupcake liners, and hoped for the best. What came out was even better than expected, rich, handheld brownie cups with a perfectly marbled cheesecake swirl.
The contrast was amazing. Fudgy, chocolatey brownie meets light, tangy cheesecake. And the texture? Soft, creamy, chewy, all in one. These quickly became my go-to dessert for holidays, birthdays, or just quiet evenings when I needed something comforting but a little elevated.
Since then, I’ve had fun experimenting with the formula. Recipes like matcha brownies and mango cheesecake brownies have joined my collection, but this classic combo still hits the sweet spot every time.
That first “accidental” swirl reminded me why I love baking, it’s forgiving, creative, and full of delicious surprises.
Ingredients and Swirl Technique
The Essential Ingredients for a Perfect Cheesecake-Brownie Base
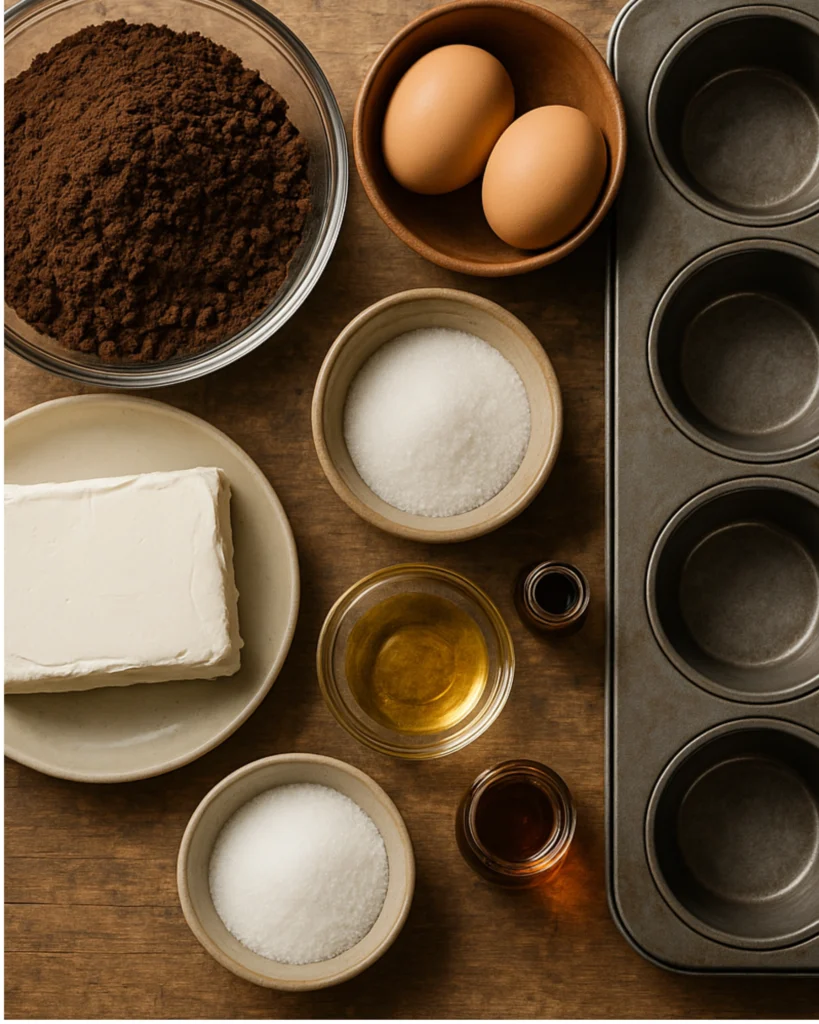
The real magic of Loaded Brownie Cheesecake Cups starts with a simple but smart set of ingredients. You don’t need anything fancy — just pantry staples and a bit of care.
You’ll need:
- 1 box brownie mix
- Ingredients listed on the box (usually eggs, oil, water)
- 8 oz cream cheese, softened
- 1/4 cup granulated sugar
- 1 teaspoon vanilla extract
- Optional: chocolate chips or chunks for added richness
Make your brownie batter first by following the package instructions. In a separate bowl, beat together the cream cheese, sugar, and vanilla until smooth. The mixture should be thick enough to hold shape when spooned — this is key for clean, distinct swirls.
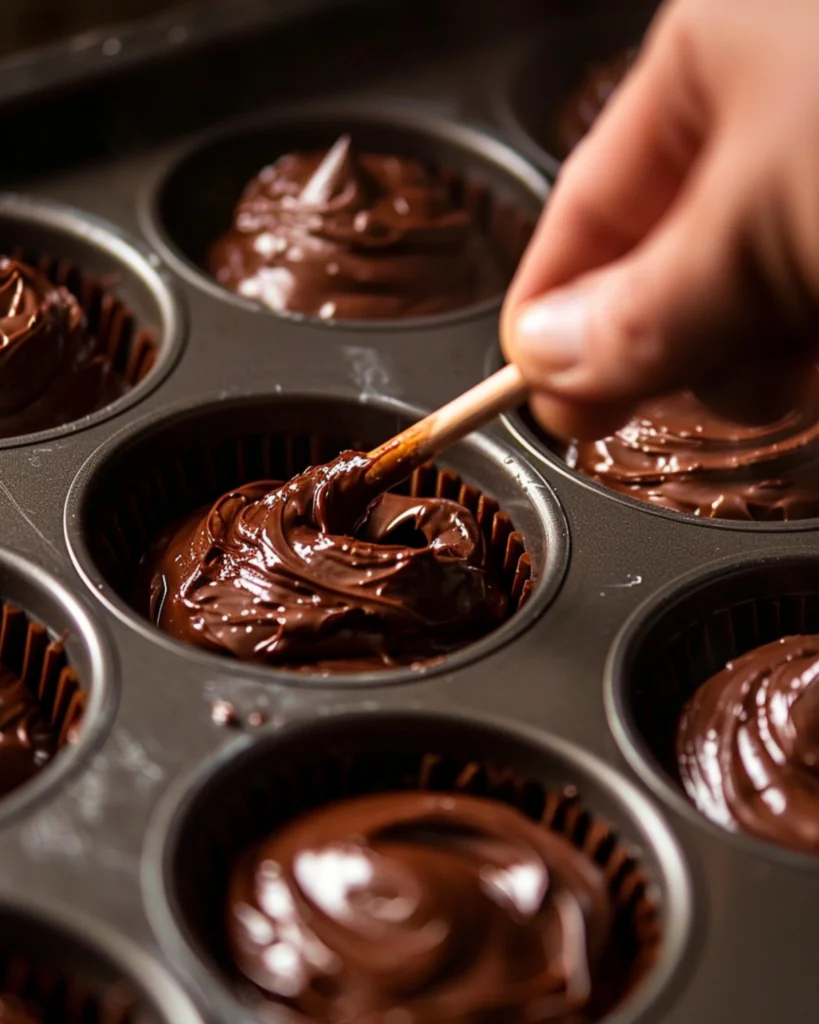
Line a muffin tin with cupcake liners and fill each about 2/3 full with brownie batter. Then, drop a spoonful of the cream cheese mixture on top of each one. Don’t worry if it sinks a little; it’ll rise beautifully as it bakes.

Mastering the Swirl for That Signature Bakery Look
Once you’ve layered your cream cheese on top, it’s time to swirl. Using a toothpick, skewer, or even the tip of a butter knife, gently swirl the two batters together in a circular or figure-eight motion. The goal is to create contrast, not to fully blend the layers.
Swirl just enough to form clean, marbled streaks of cheesecake and brownie. Overmixing will blur the pattern and flatten the flavor layers. It’s okay to be slightly imperfect, those natural streaks are what make each cup unique.
This step not only adds flavor depth but also transforms the appearance into something truly impressive, even though it only takes minutes.

Baking and Storage Tips
Time, Temperature, and How to Get the Perfect Bake
Once your Loaded Brownie Cheesecake Cups are swirled and ready, it’s time to bake. Preheat your oven to 350°F (175°C) and place the muffin tin on the center rack. Bake for 18 to 22 minutes, depending on your oven.
Look for firm edges and a slightly jiggly center, that’s the sweet spot. A toothpick inserted near the edge (not the center) should come out with a few moist crumbs. If it’s completely clean, your cups might be overbaked. And if it’s gooey in the middle, give it another minute or two.
After baking, let them cool in the pan for about 5 minutes. This helps the structure set before transferring. Then move each cup to a wire rack to cool completely. Once cooled, chill them in the fridge for at least 30 minutes. This final step firms up the cream cheese swirl and deepens the texture.
How to Store and Freeze for Later
Loaded Brownie Cheesecake Cups aren’t just delicious, they’re practical too. Thanks to their sturdy cupcake shape and cream cheese layer, they hold up beautifully when stored properly.
Place them in an airtight container and store in the refrigerator for up to 5 days. The texture stays moist and creamy without drying out.
Want to save them for longer? No problem. Wrap each cup individually in plastic wrap or foil and place them in a freezer-safe bag. You can freeze for up to 2 months. When ready to enjoy, thaw at room temperature for about 30 minutes, or refrigerate overnight.
This flexibility makes them ideal for meal prep, holiday planning, or just sneaking one out of the freezer whenever a craving hits.
Variations and Baking Adjustments
Creative Add-Ins to Elevate the Classic Cup
Once you’ve mastered the base recipe, it’s easy to get creative with your Loaded Brownie Cheesecake Cup. Whether you’re baking for a birthday or just for fun, these cups are endlessly customizable.
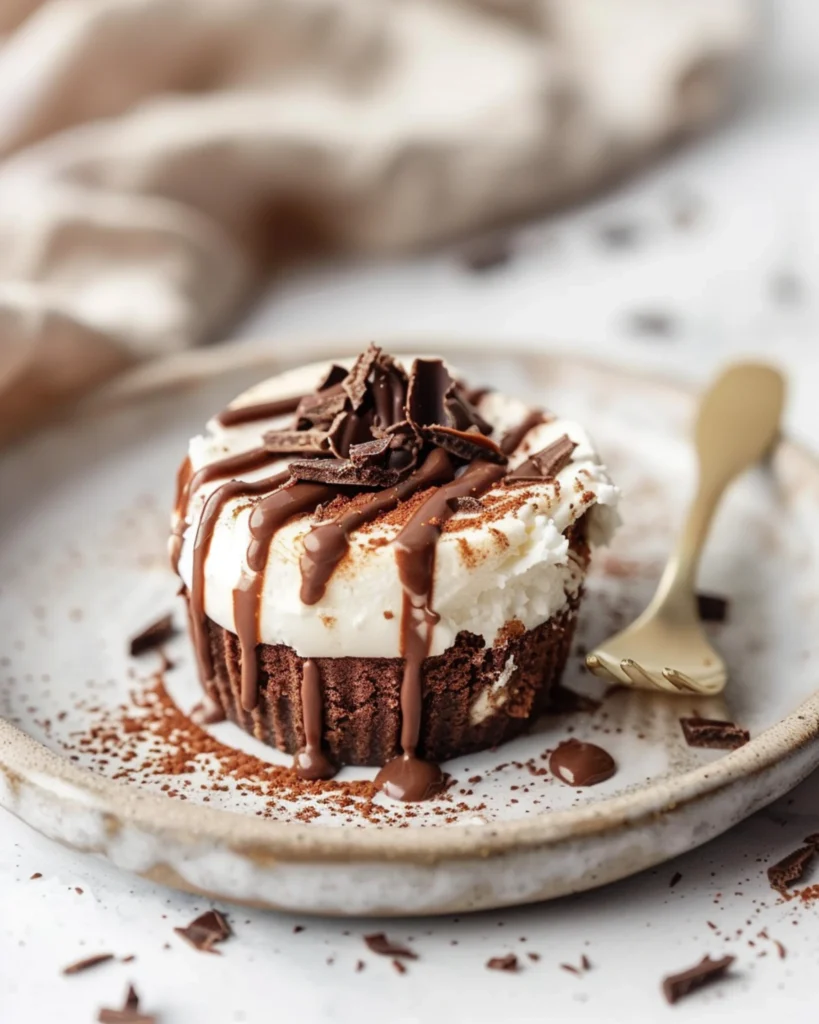
Want to add more chocolate? Sprinkle mini chocolate chips or chopped dark chocolate on top before baking. They’ll melt slightly into the swirl, giving you gooey bites of extra richness in every Loaded Brownie Cheesecake Cup.
Looking for a fruity twist? Try adding a small dollop of raspberry jam or cherry preserves in the center of the cream cheese layer. As they bake, the jam spreads and adds a sweet, tangy surprise to each bite-sized dessert.
If you’re into texture, a sprinkle of crushed Oreos, nuts, or even toasted coconut on top can add crunch and visual appeal. You can also flavor the cream cheese mixture with a hint of lemon zest, almond extract, or even espresso powder to give your Loaded Brownie Cheesecake Cups a gourmet twist.
Using themed cupcake liners and colorful swirls makes them perfect for holidays or gifting. With just a few small upgrades, this simple recipe turns into something personal and bakery-worthy.
Egg Adjustments That Change the Texture
The texture of your brownie layer depends a lot on the number of eggs you use. Most boxed mixes call for two eggs. That gives you the rich, fudgy base that complements the smooth cheesecake layer inside each Loaded Brownie Cheesecake Cup.
Prefer a cakier texture? Add one extra egg. This will lighten the structure and create a fluffier bite, though you’ll lose a bit of that dense contrast. For gooey, chewy perfection, stick to the lower egg count and avoid overbaking.
Either way, these cups adapt beautifully to whatever texture you prefer.


Loaded Brownie Cheesecake Cups
Ingredients
Equipment
Method
- Preheat oven to 350°F and line muffin tin with cupcake liners.
- Prepare brownie batter according to box instructions.
- Beat cream cheese, sugar, and vanilla until smooth.
- Fill each liner 2/3 full with brownie batter.
- Spoon cheesecake mix on top and swirl with a toothpick.
- Bake 18–22 minutes until set at the edges.
- Cool completely, then refrigerate 30+ minutes before serving.
Nutrition
Notes
From your stove to our hearts
share your delicious take!FAQs About Loaded Brownie Cheesecake Cup
What happens if you add cream cheese to brownie mix?
It adds a rich, tangy layer that turns brownies into marbled cheesecake brownies.
Do brownies with cream cheese need to be refrigerated?
Yes, they must be stored in the fridge due to the dairy-based cream cheese layer.
Can you put brownie mix in cupcake cups?
Definitely. Cupcake liners make portioning easy and baking neater.
How to make cheesecake brownies in a preppy kitchen?
Use piping bags, decorative swirls, and add elegant touches like powdered sugar or jam dots.
What happens if you add an extra egg into brownie mix?
You’ll get a cakier texture. For fudgy cheesecake cups, stick to the listed number of eggs.
Conclusion: Loaded Brownie Cheesecake Cup
Loaded Brownie Cheesecake Cups are the perfect combination of creamy, chocolatey, and easy. With just a swirl of cream cheese, a box of brownie mix, and a little love, you can create a bakery-worthy dessert in under 30 minutes. These Loaded Brownie Cheesecake Cups have it all flavor, texture, beauty, and the power to make anyone smile.
Whether you keep them chilled in your fridge for a week of treats or freeze them for later, Loaded Brownie Cheesecake Cups are always a good idea. Like any dessert, they’re best enjoyed in moderation. It’s helpful to understand how sugar impacts your health if you’re managing your daily intake or baking for kids.
